Documentation
Getting Started
- Your First Website
FAQ
The Homepage
You are going to design your first website from scratch! Like many websites, everything begins with the homepage! The first step is to install the Figside Plugin.
The Plugin
The Figside plugin allows us to add some Web behaviours to your Figma file like max/min width, responsive grid, make connection between your pages and more!
Install the Plugin
Create your First Page
Create a new file in Figma (Pro Tips: you can use figma.com/new) and add a new frame (with a Desktop size)
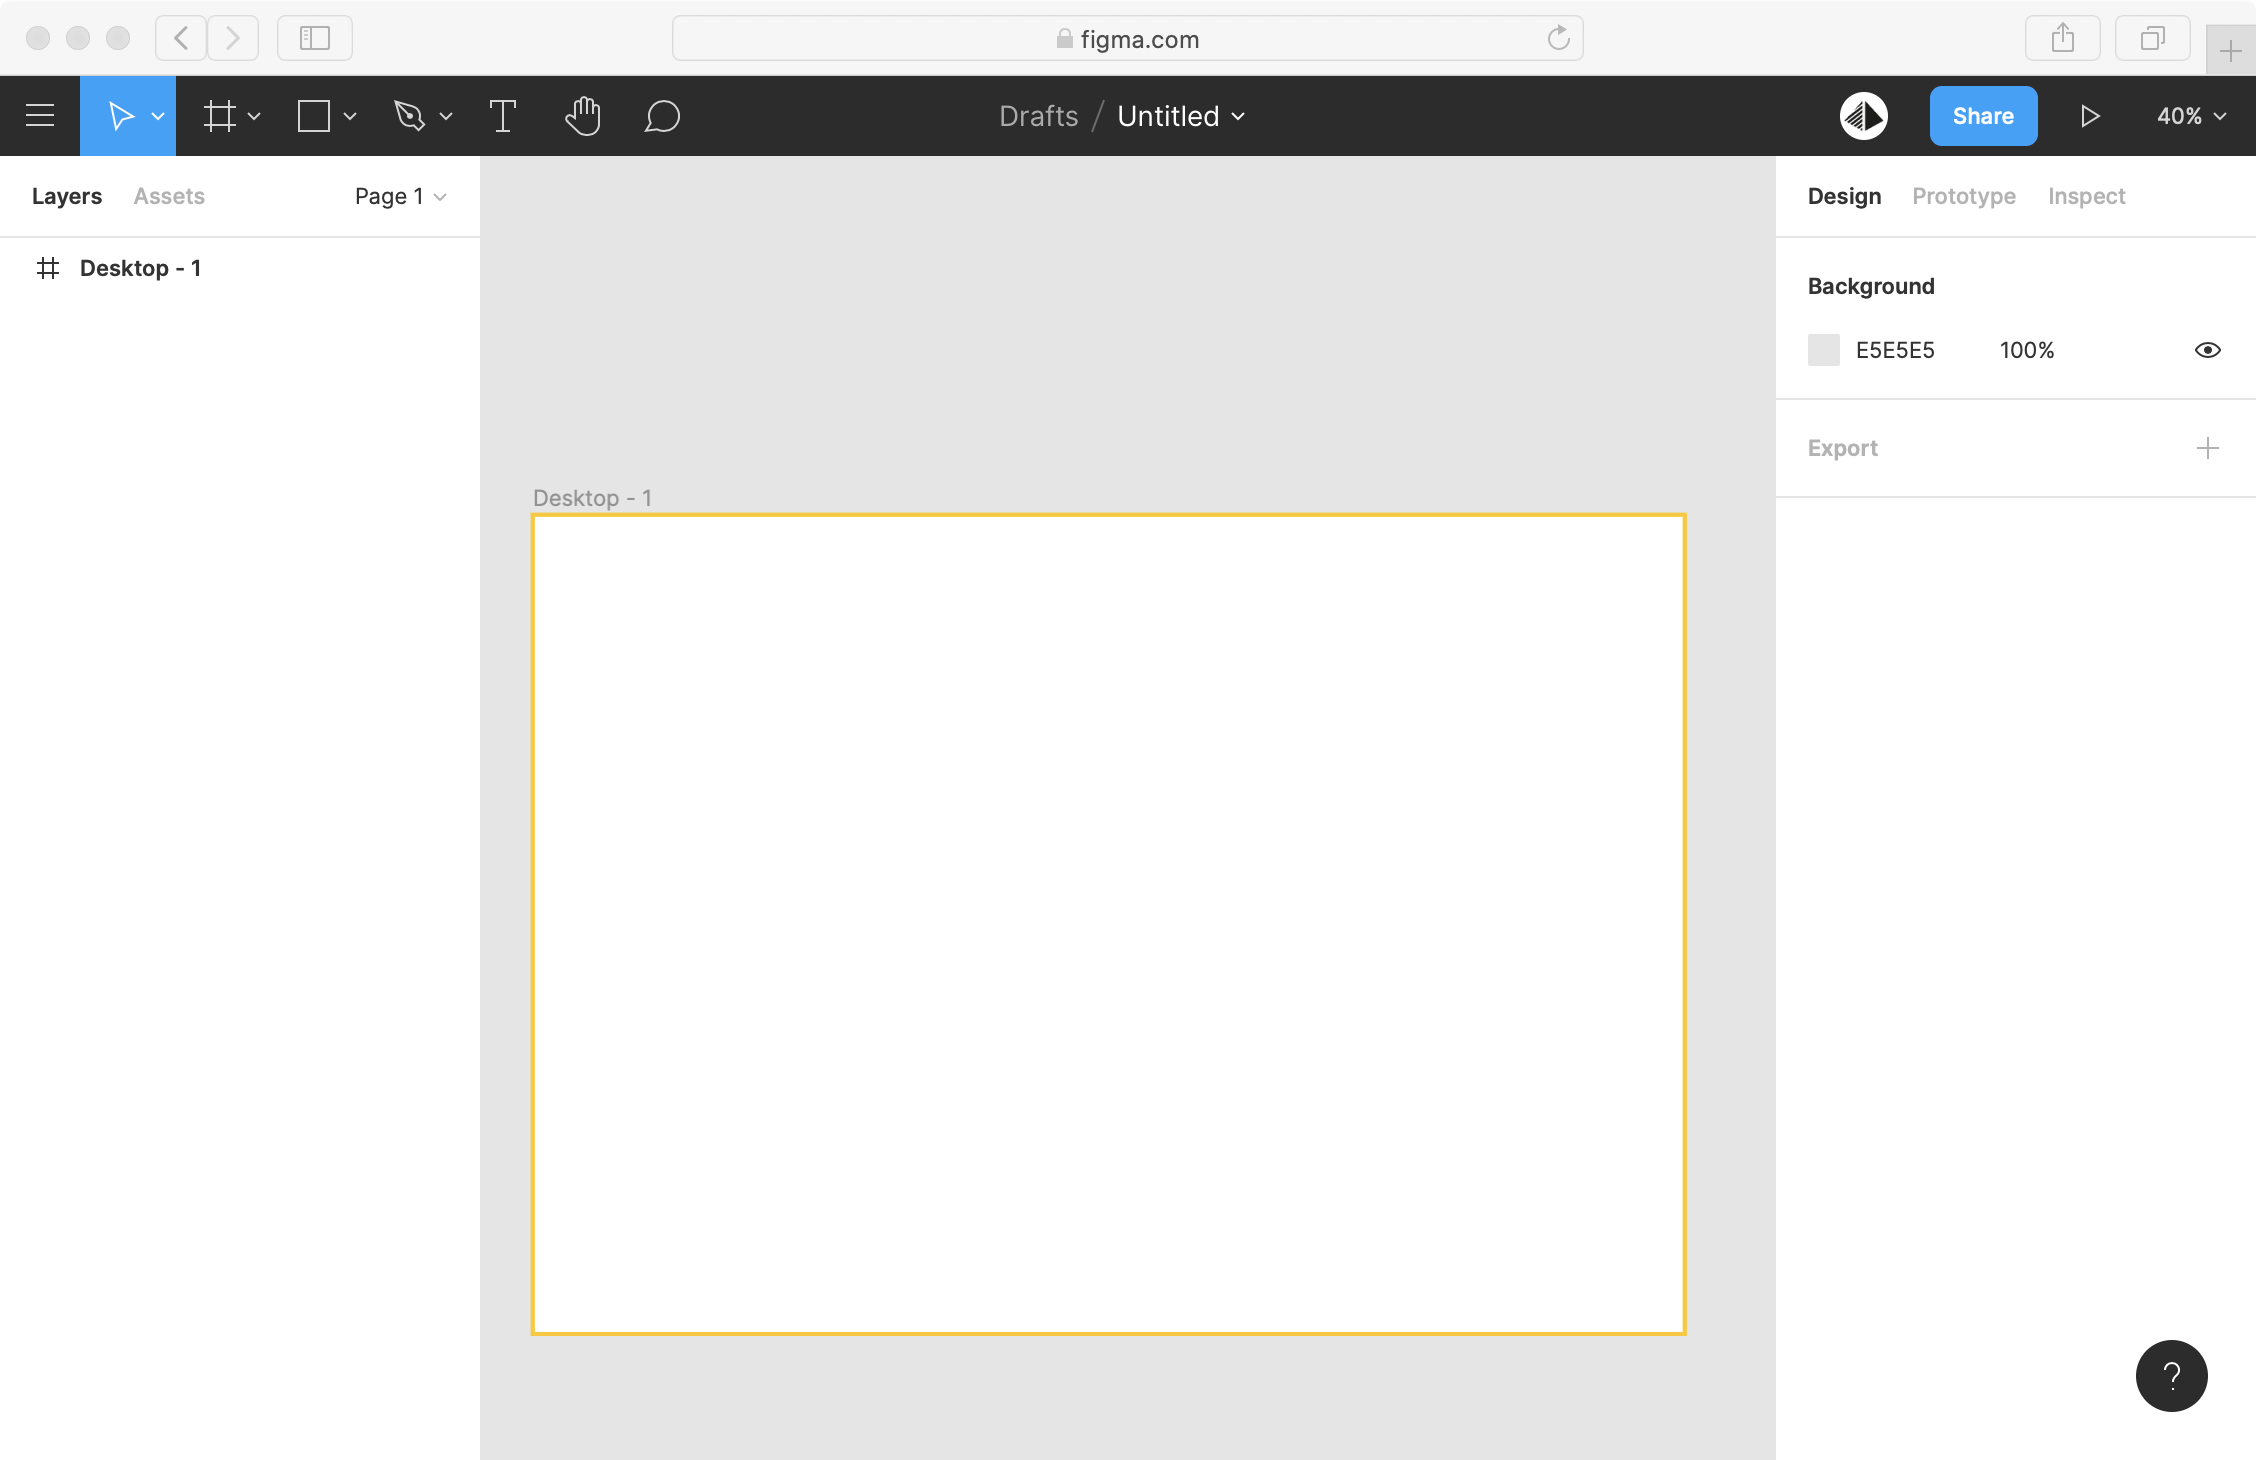
The first thing to do is adding the Auto Layout on your frame by right-clicking on your frame and select Add auto layout. You can learn more about Auto Layout on the Figma documentation.
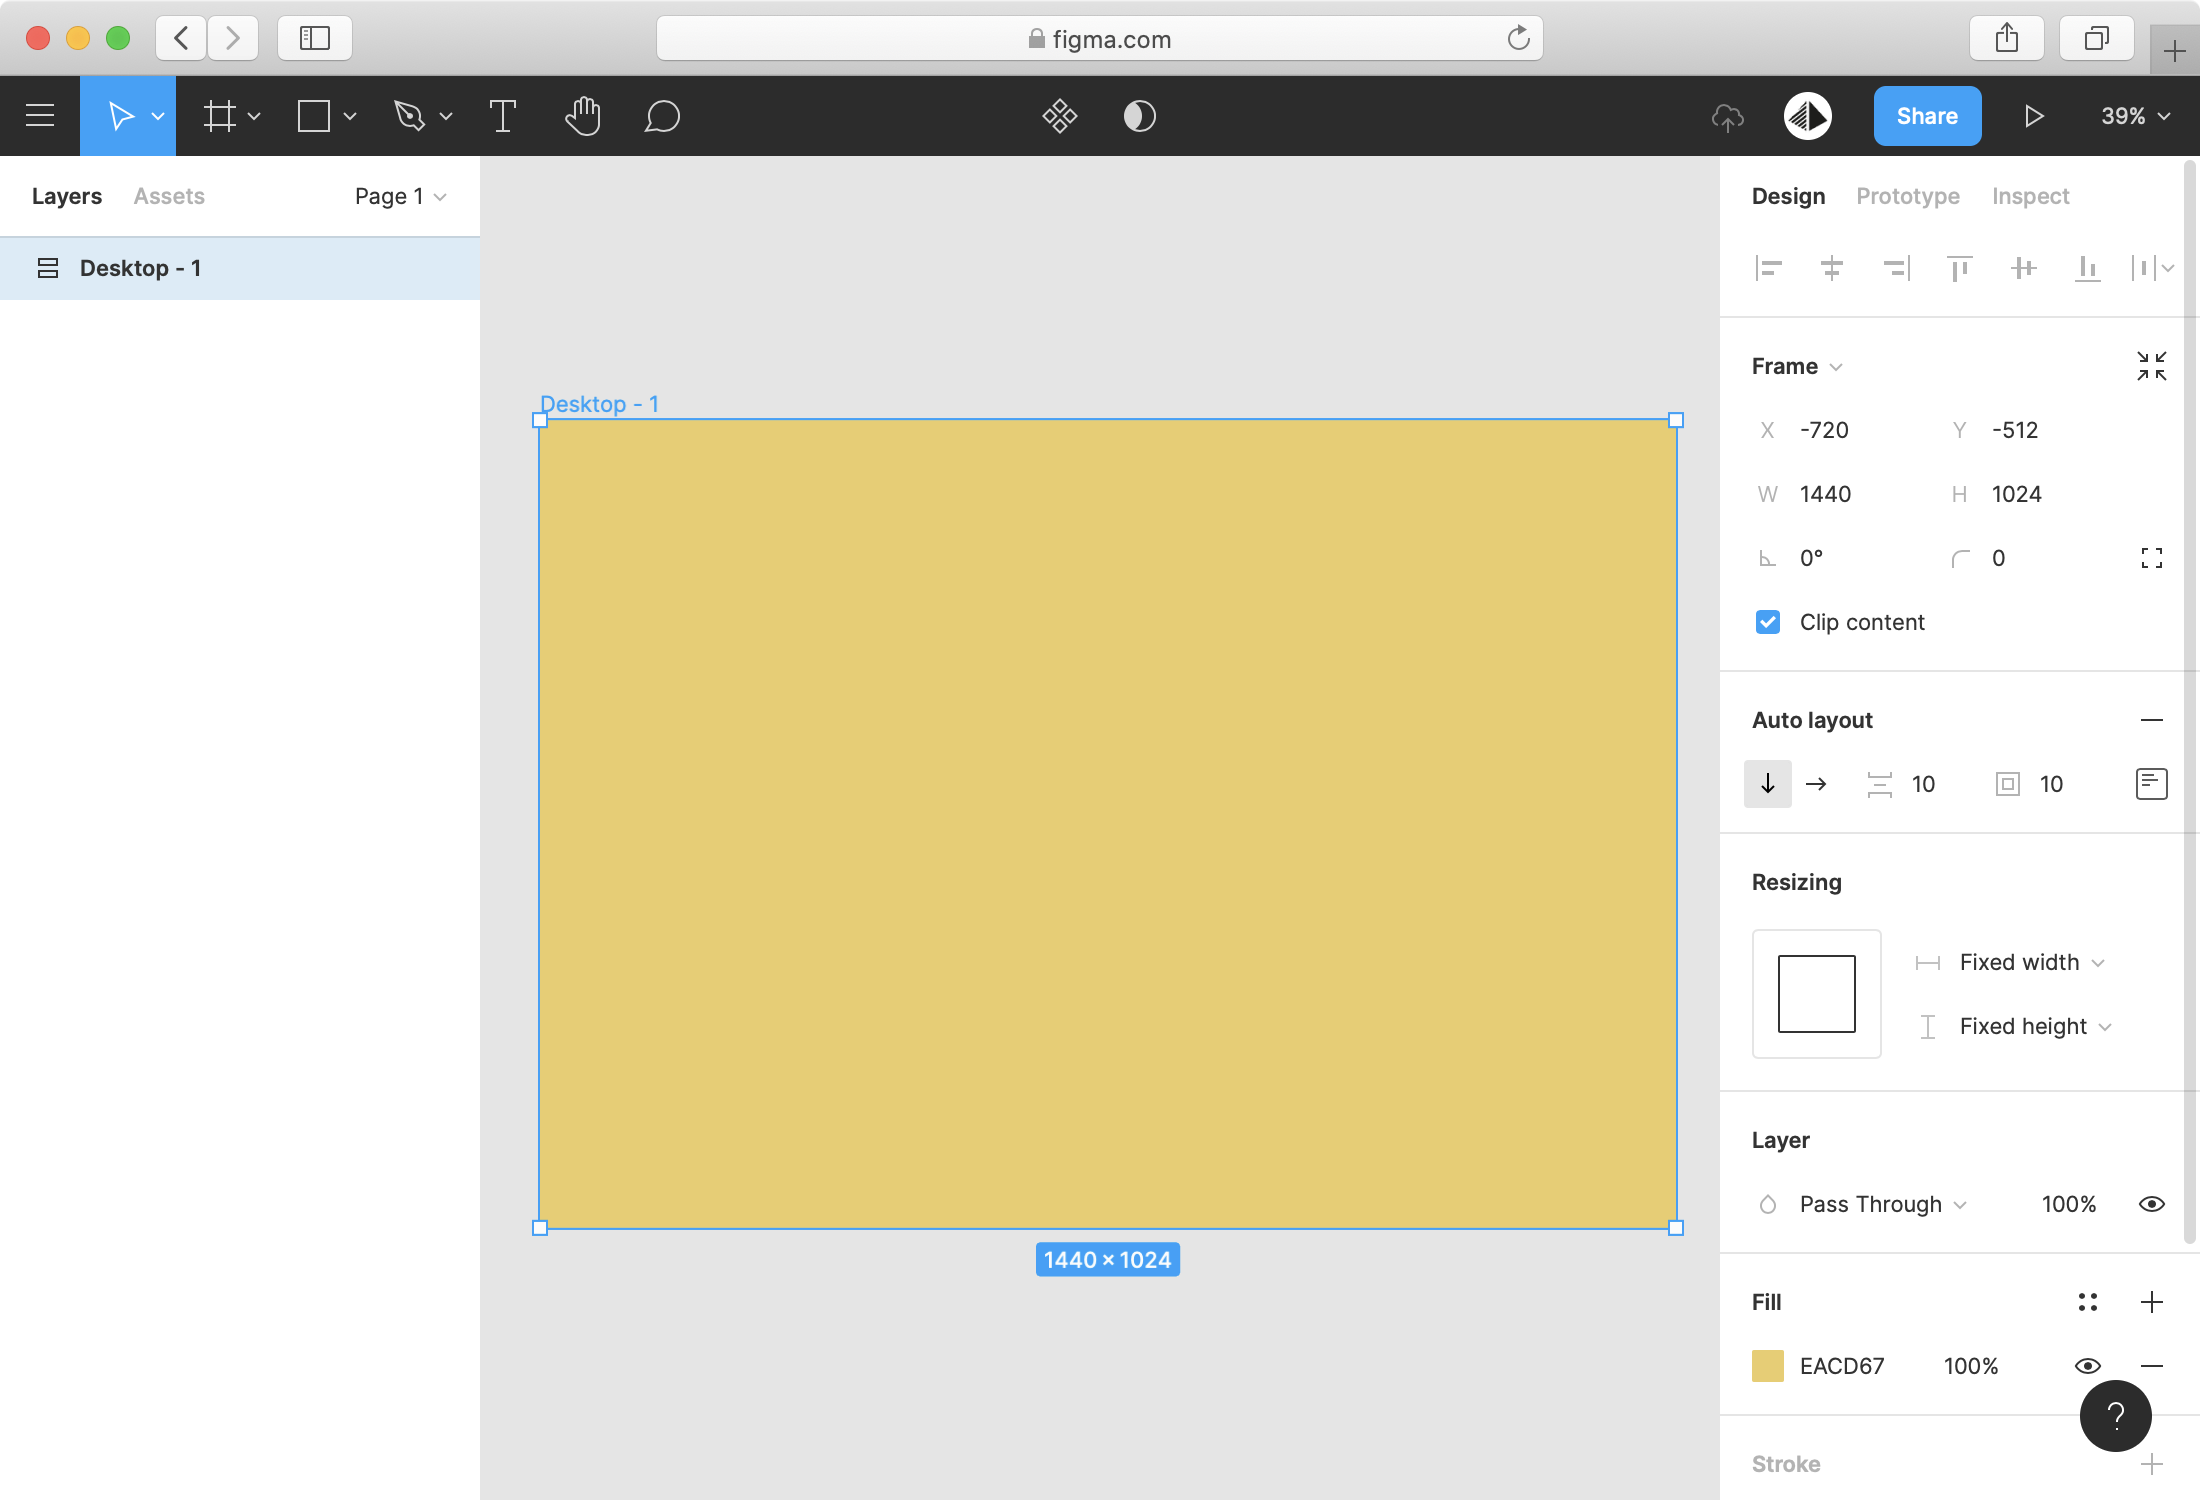
Set the width and height to Fixed in the Resizing panel to avoid layout flickering in Figma. This frame is the top container of your page, we automatically add a 100% width and height to fill the viewport of your browser when you import your project in Figside.
Add a background color to your page by picking a color in the Fill panel:
Import your File in Figside
It's time to import your file in Figside to check the result. It's important to keep an eye on the Figside version and check if your document has the right look.
From the dashboard, click the "Import" button and copy/paste your figma URL (it looks like this https://figma.com/file/XXX/XXX)
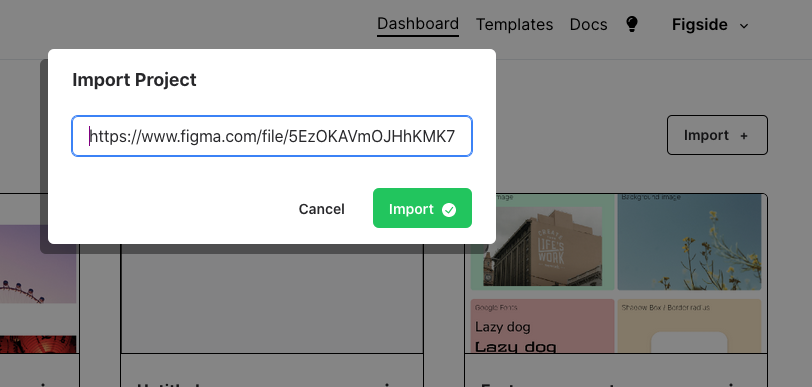
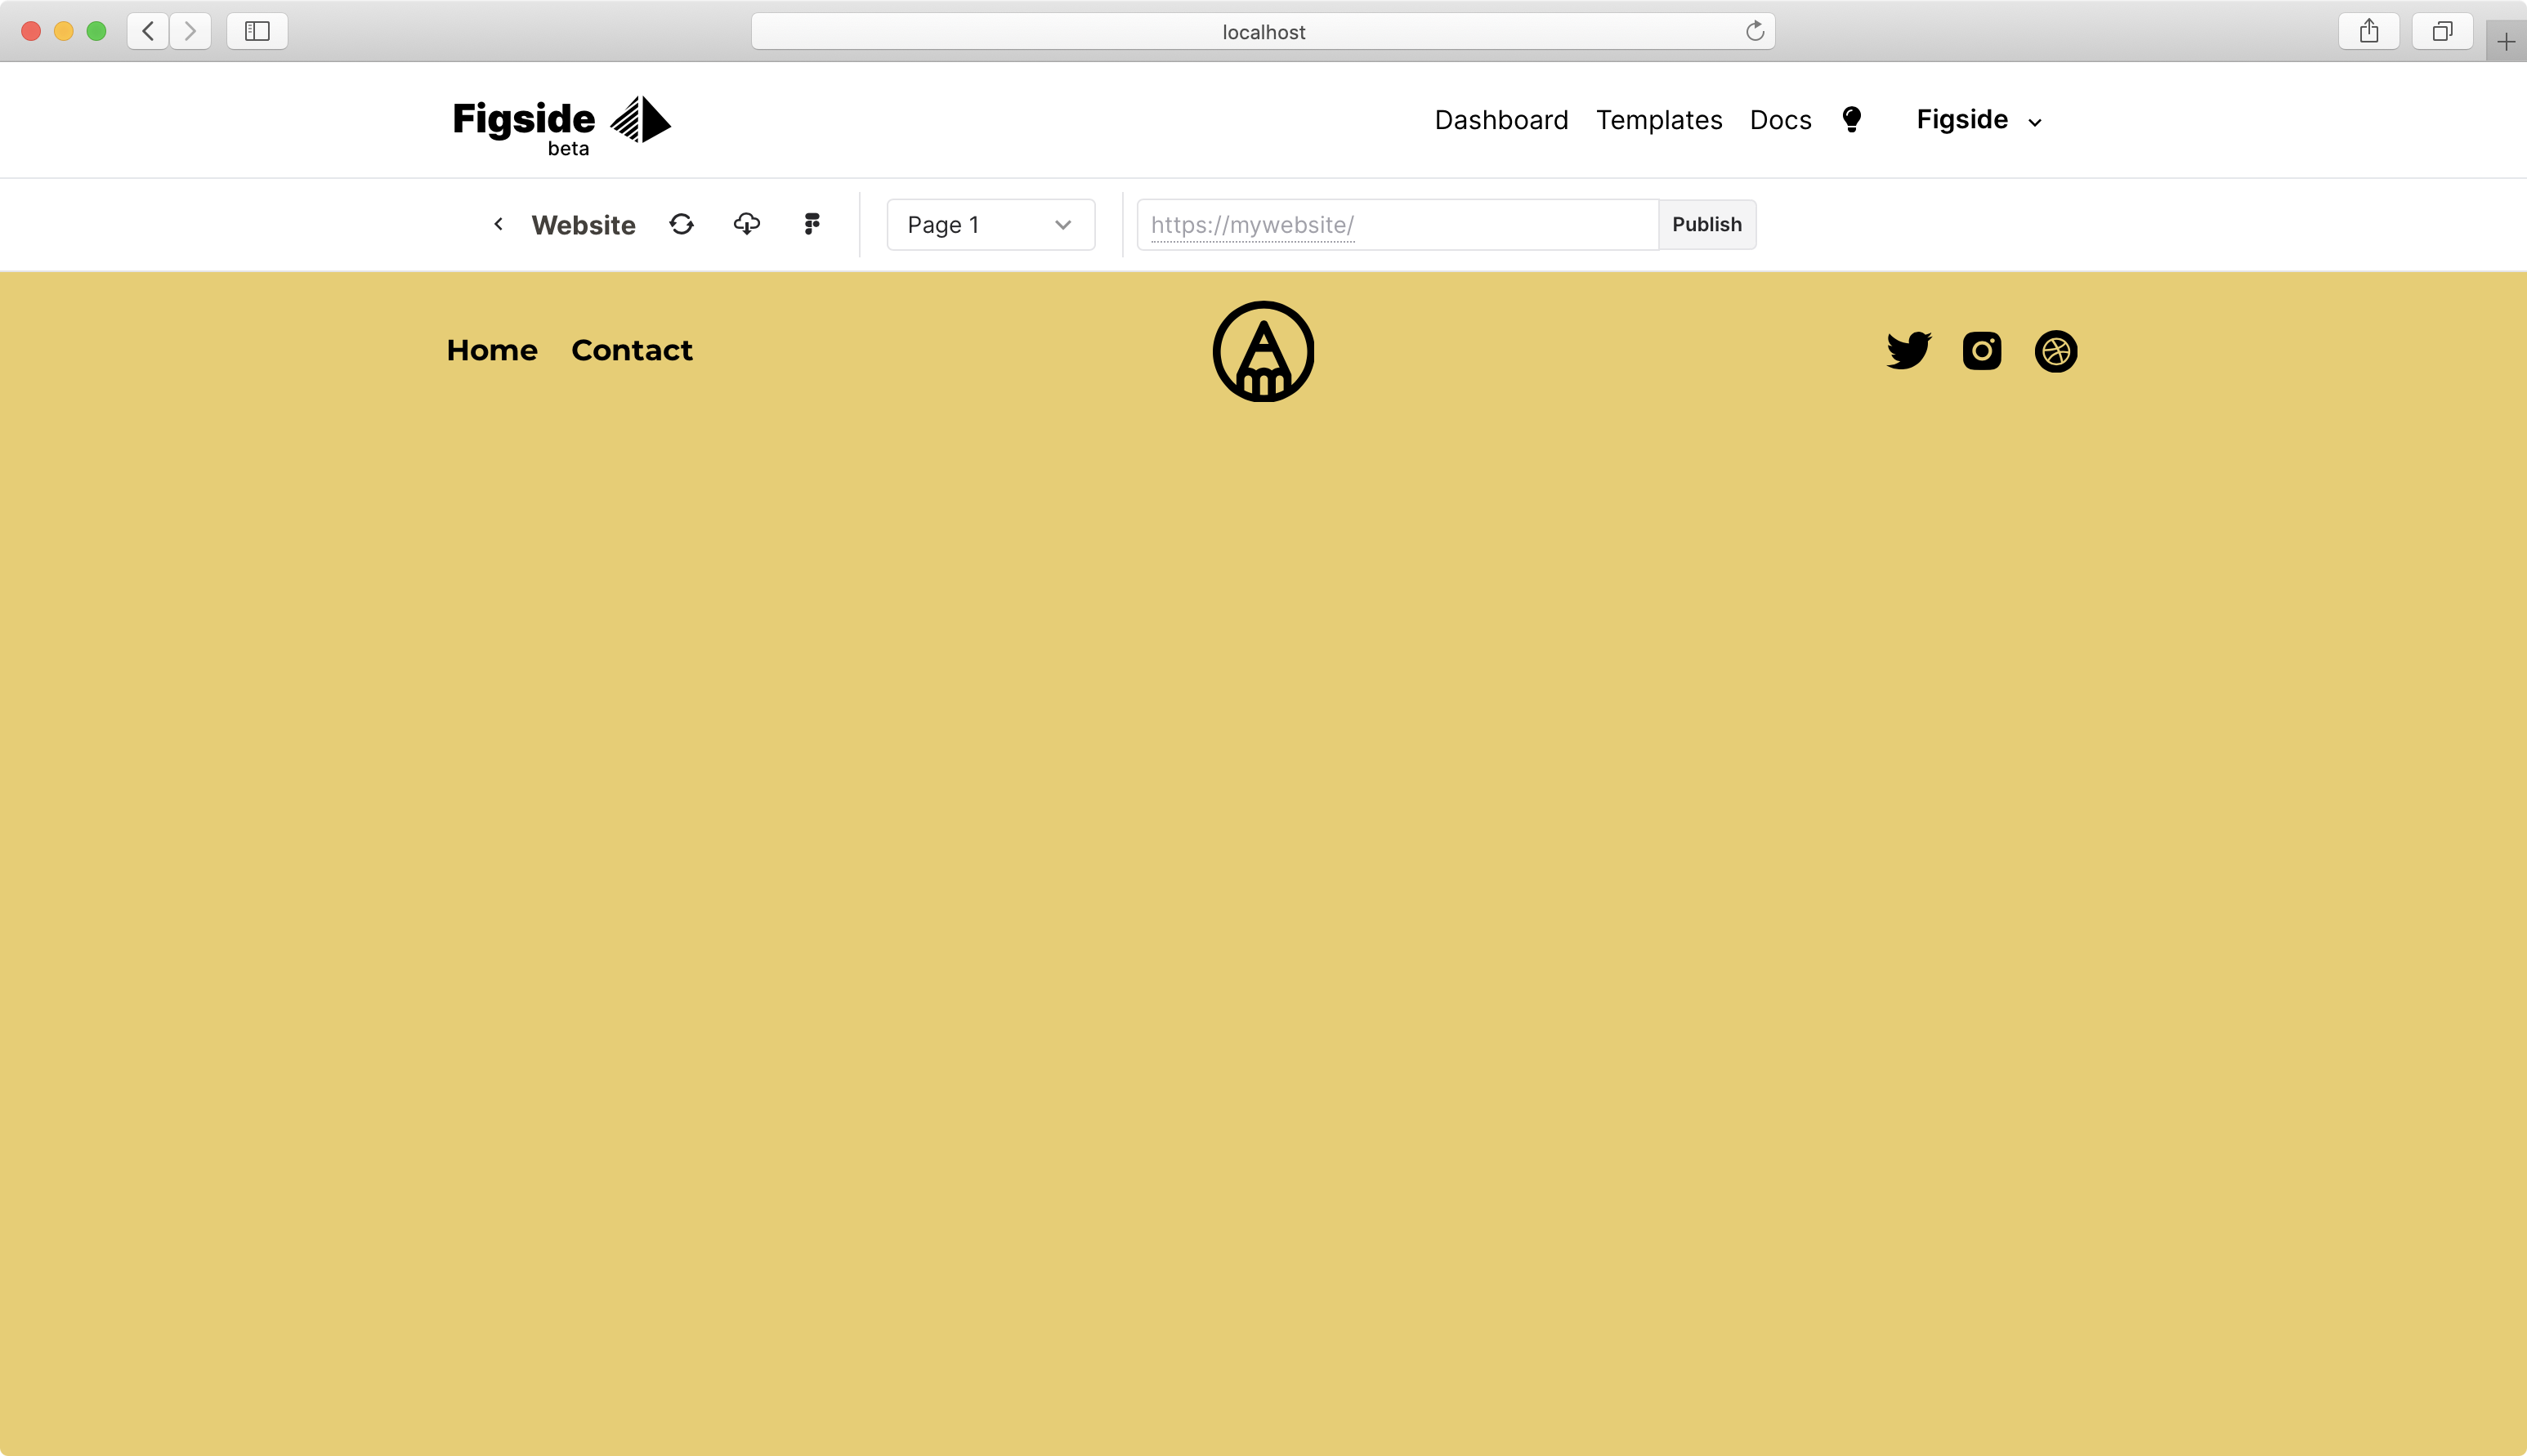
Open your project, you should have you background color in a full page:
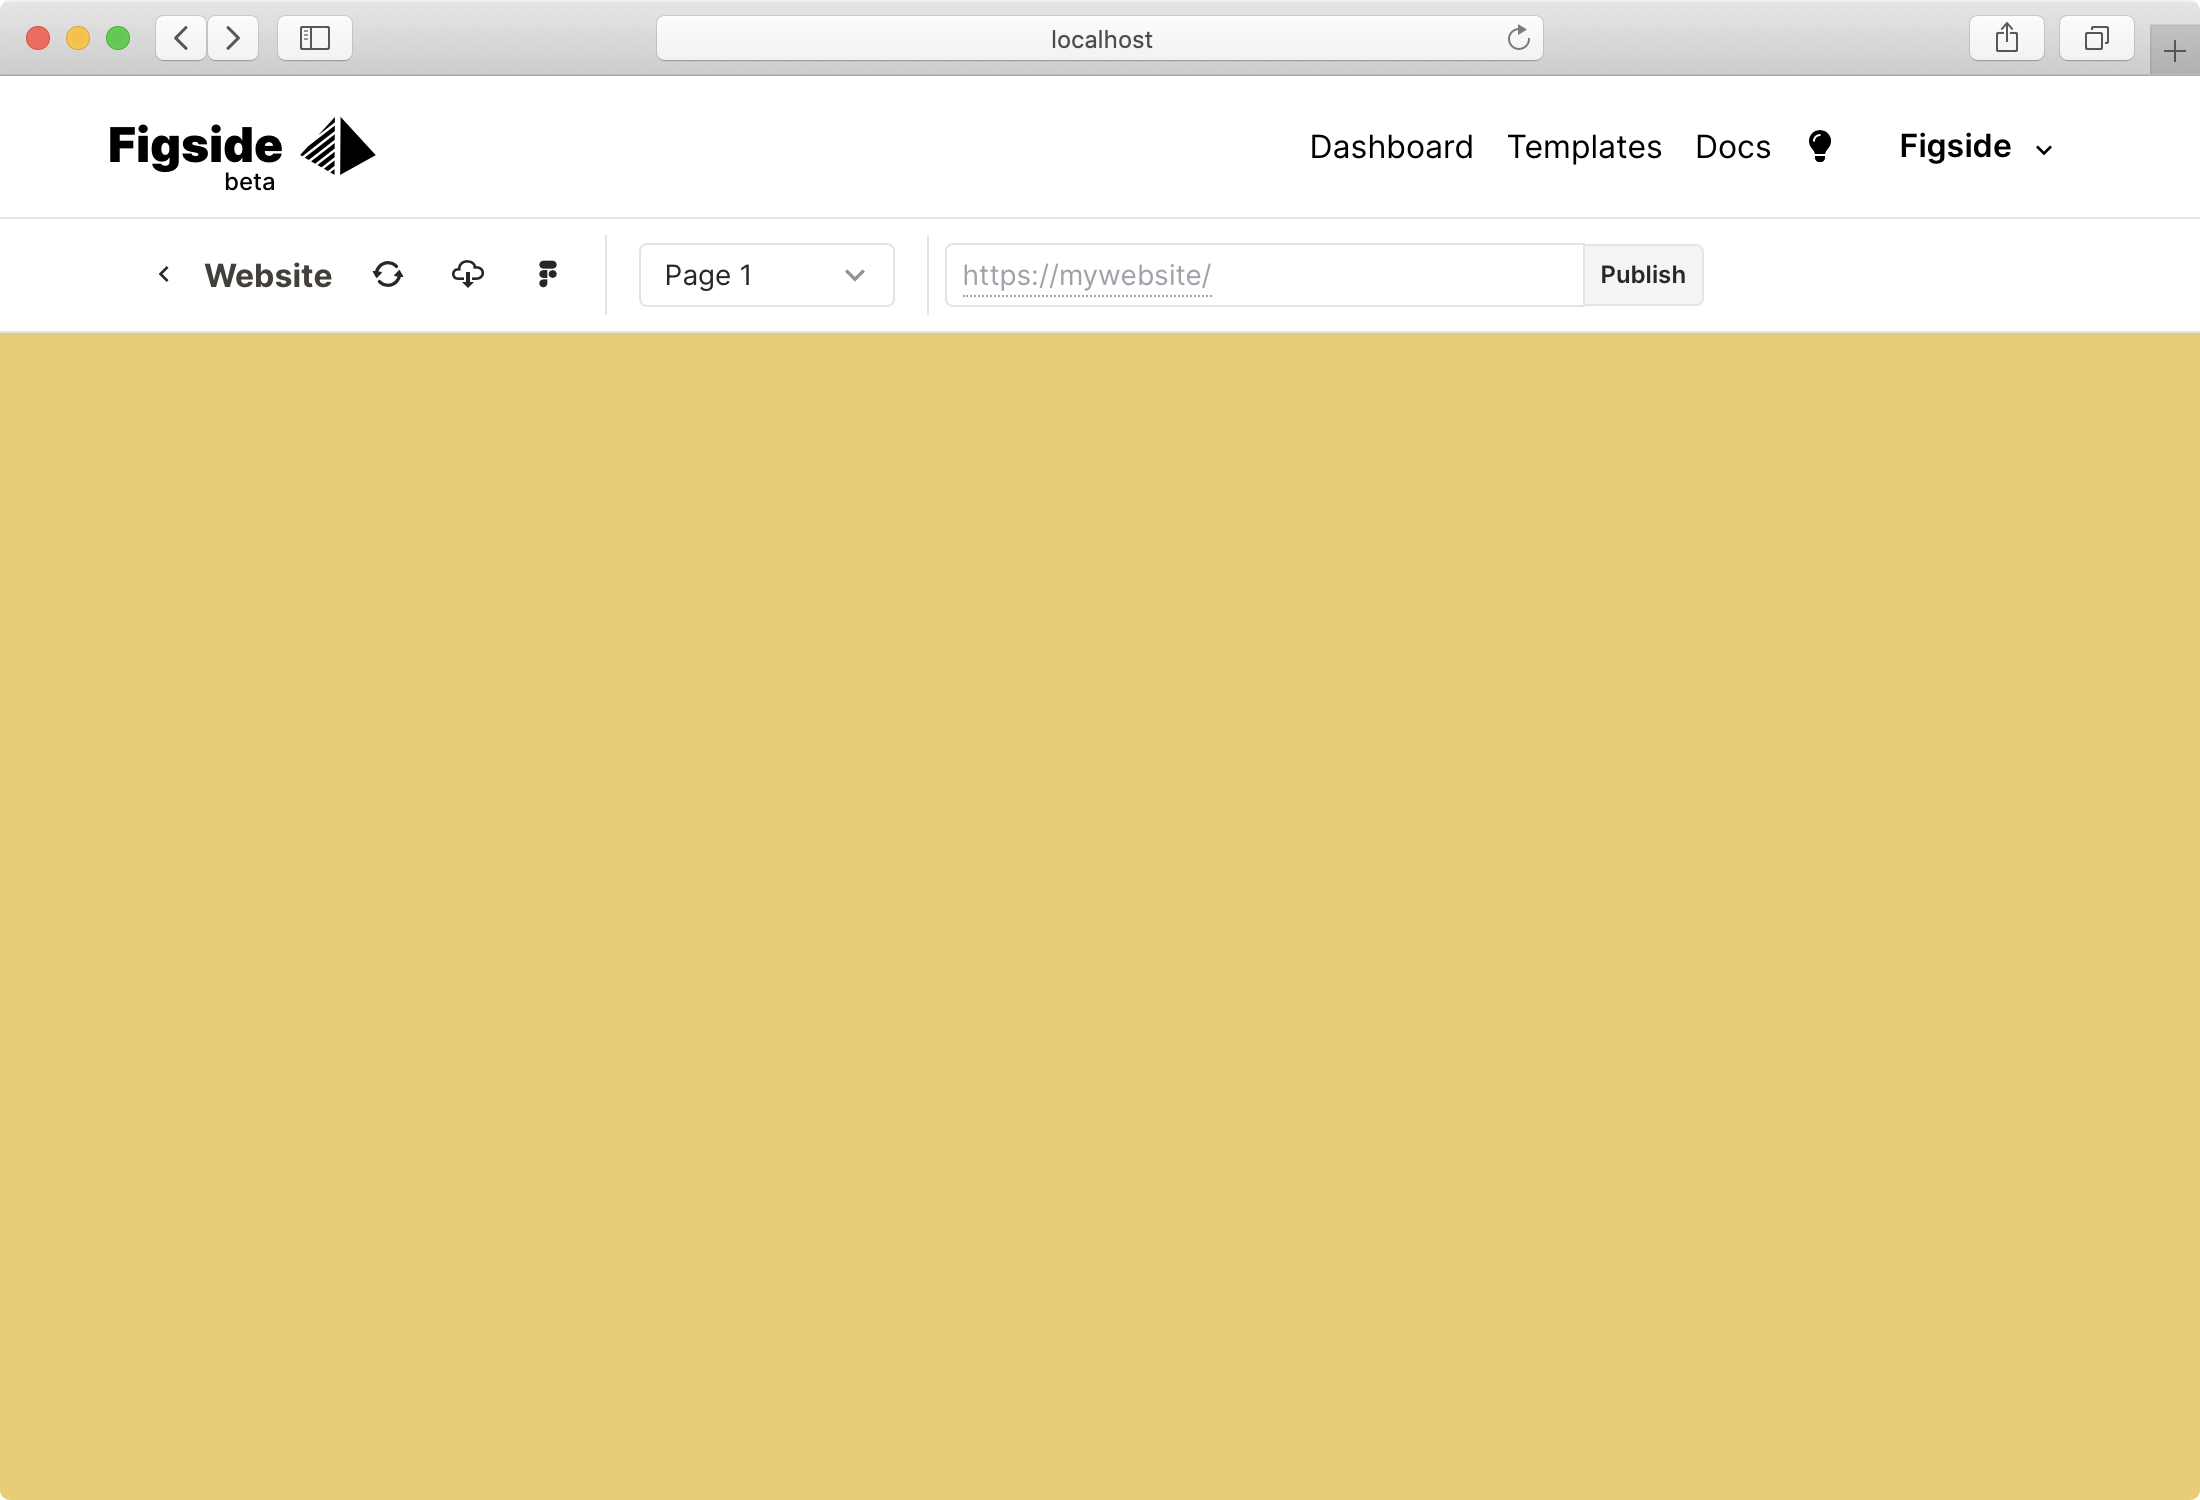
At any time you can refresh your website to sync with your Figma file by clicking on the refresh icon in the top toolbar (try to change the background color!).
Add your Header
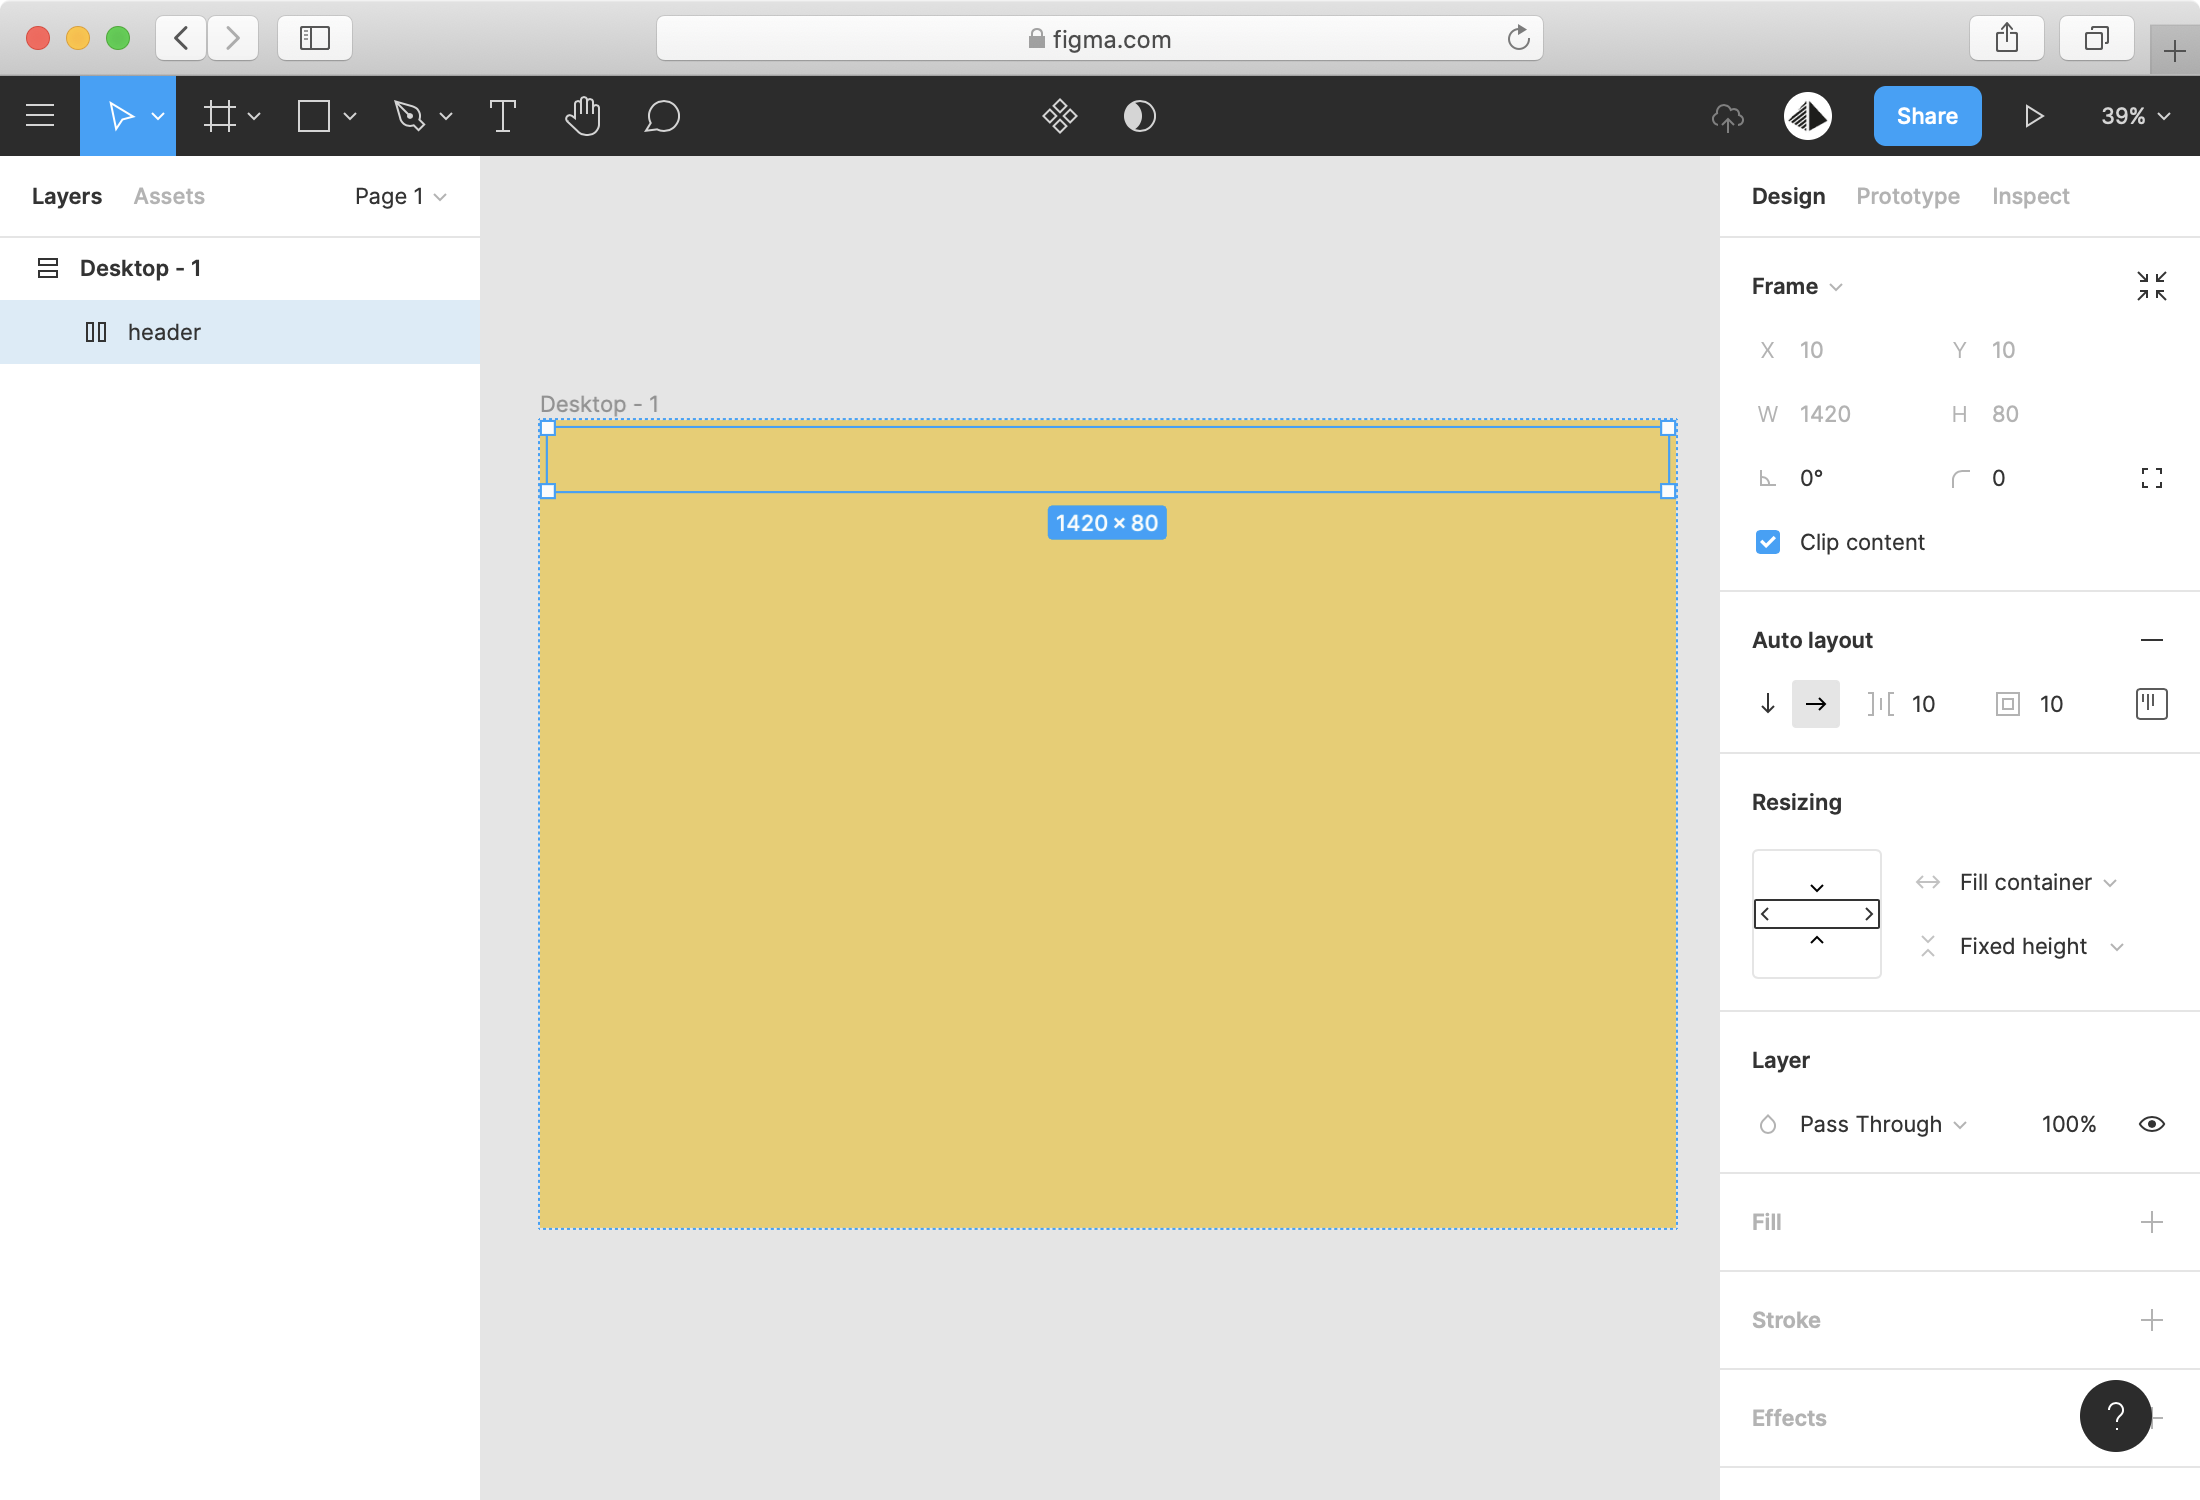
Back to your Figma file and add a new frame inside your root frame and enable the Auto Layout.
In the Resizing panel select Fill container for the width and set a fixed height (like 80px):
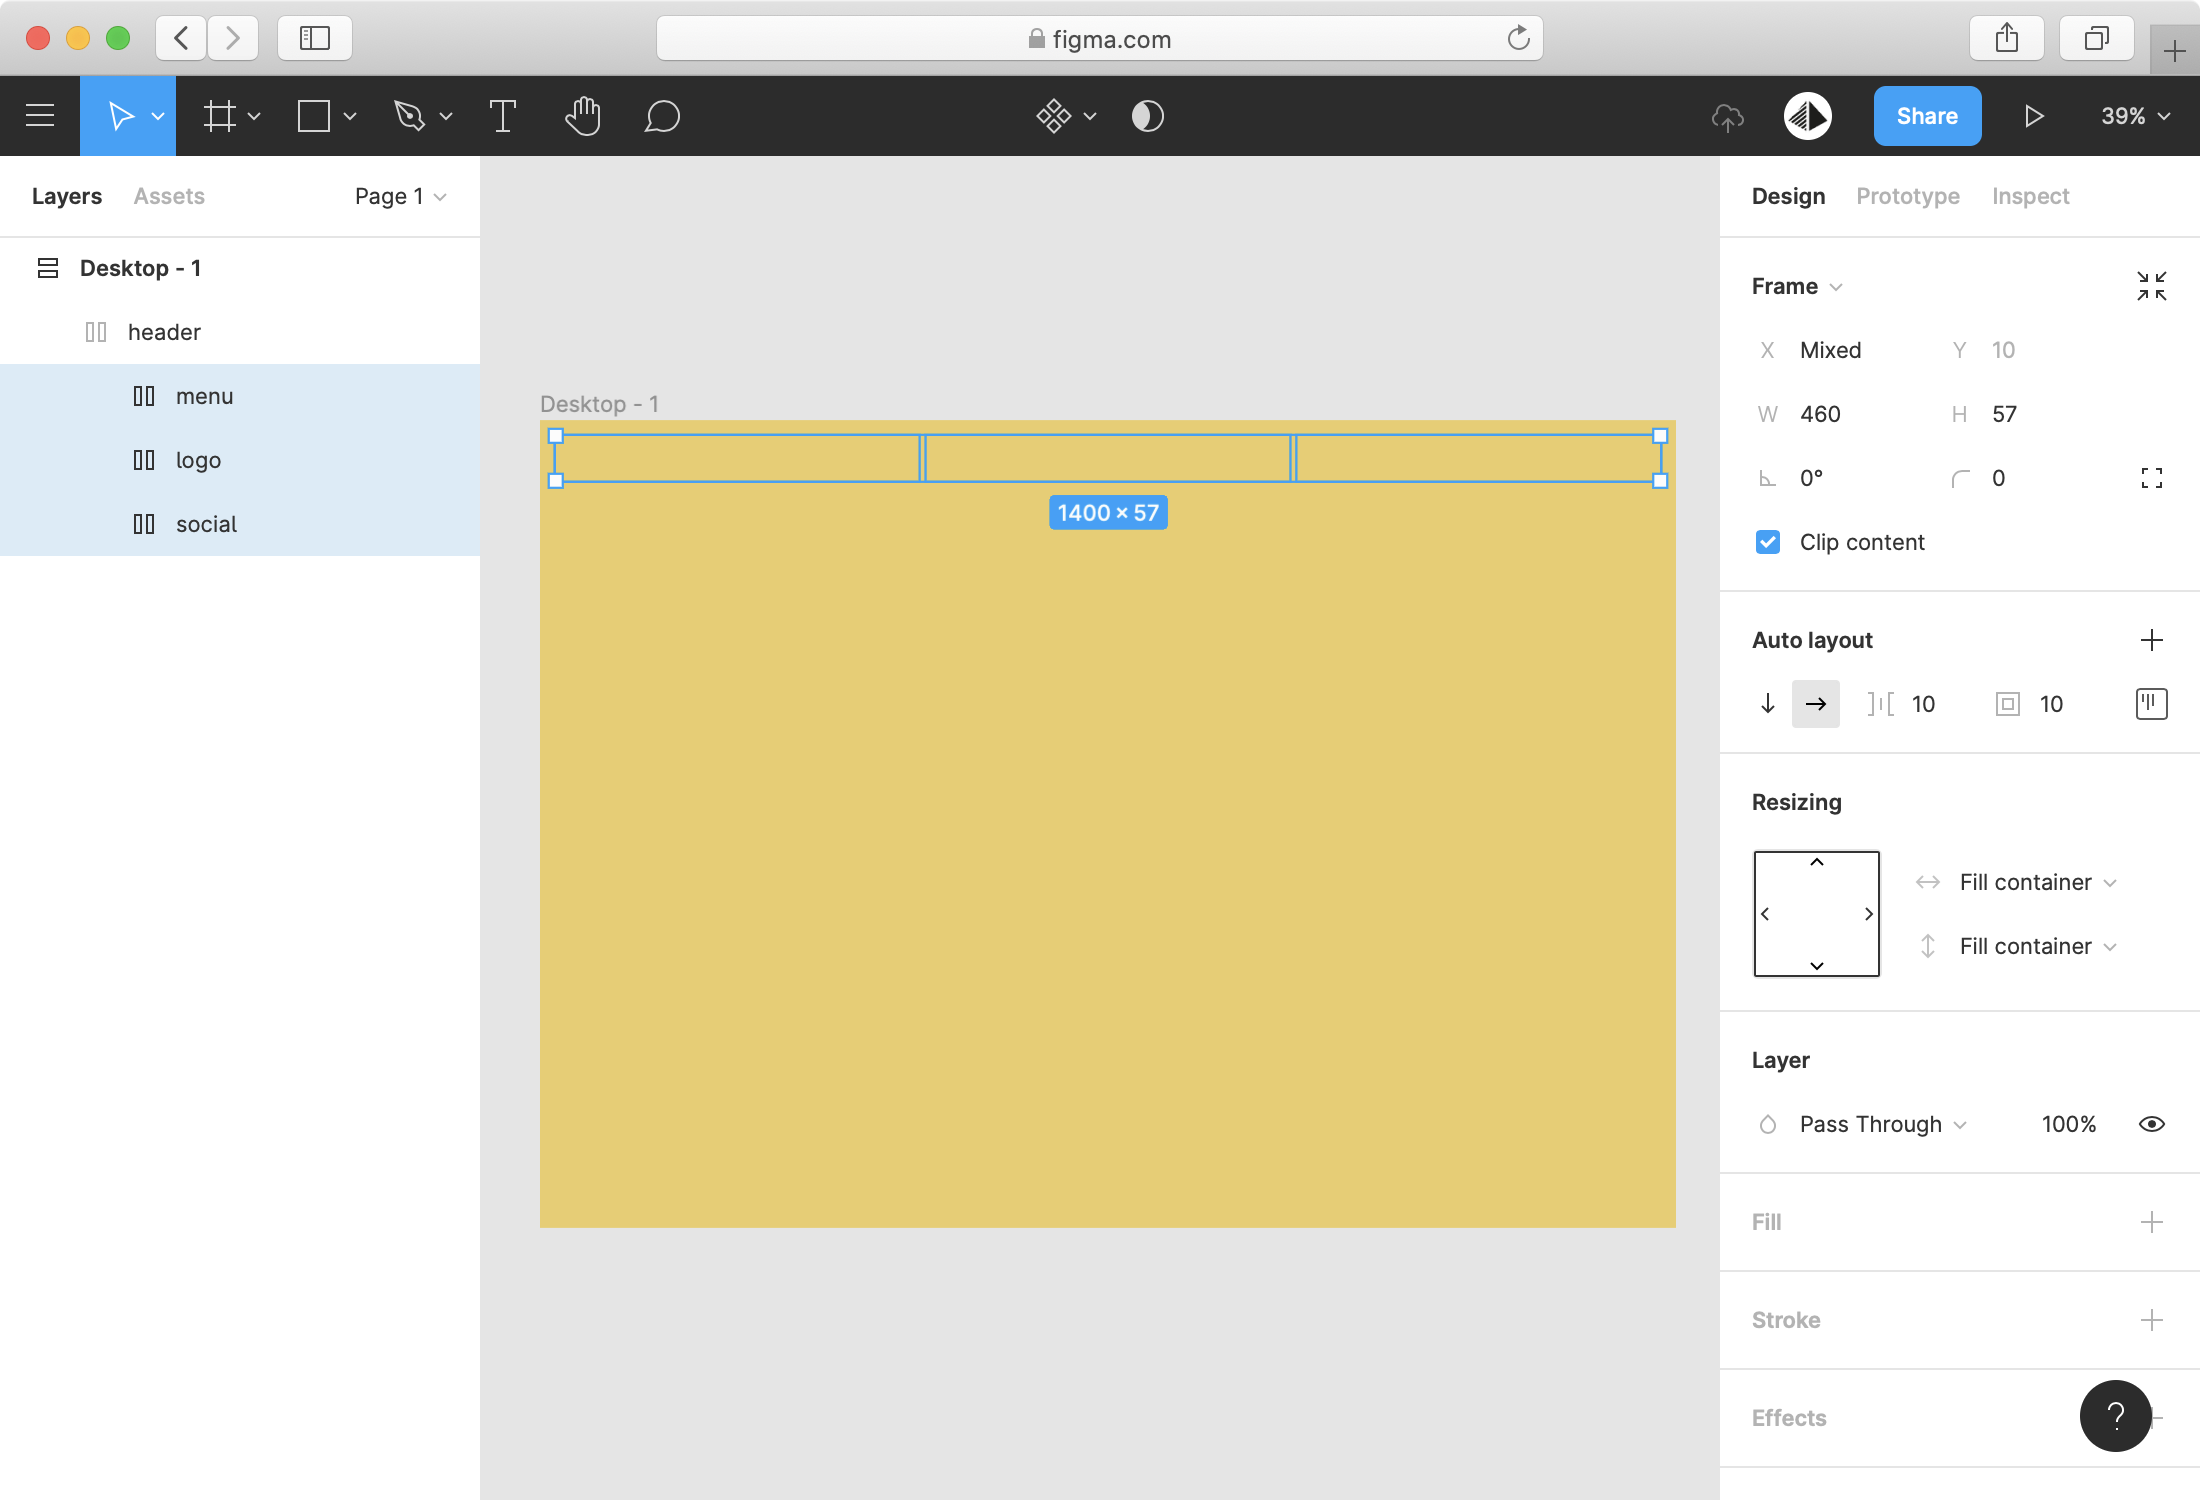
Create three frames (menu, logo and social) inside your header. Select Fill Container option for the height and width of each frame:
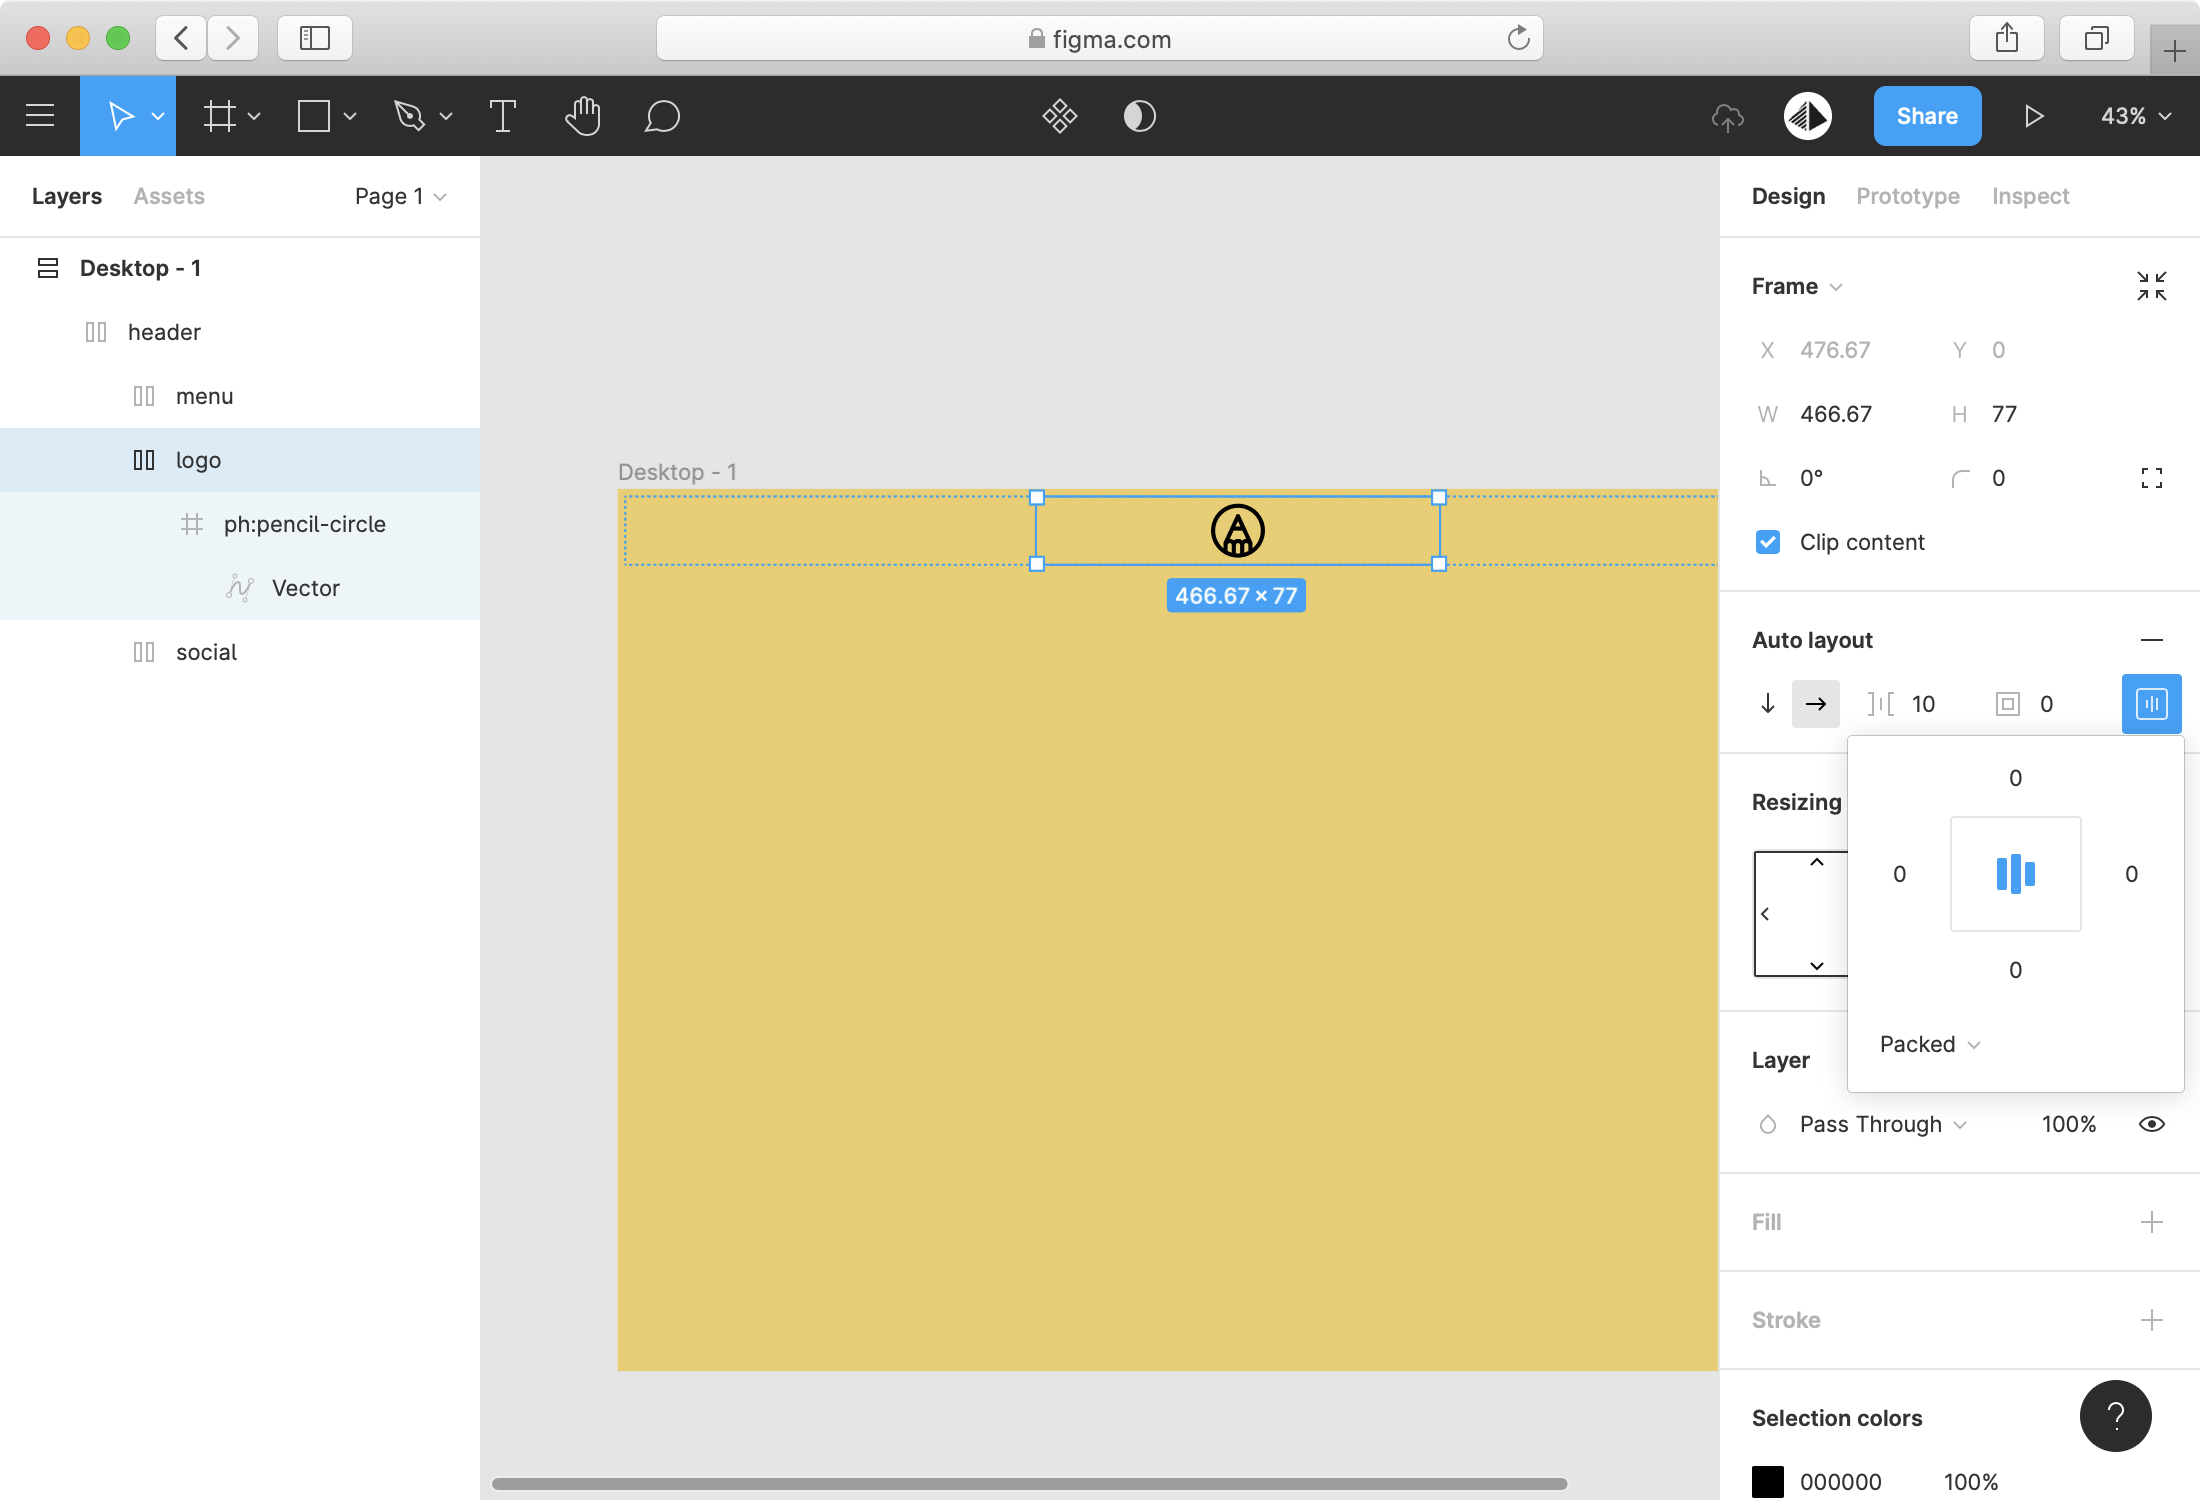
Add a logo in the center frame.
You can use Figma Plugin like Iconify to quickly insert svg icons
Use the Auto Layout options to center your logo within your frame:
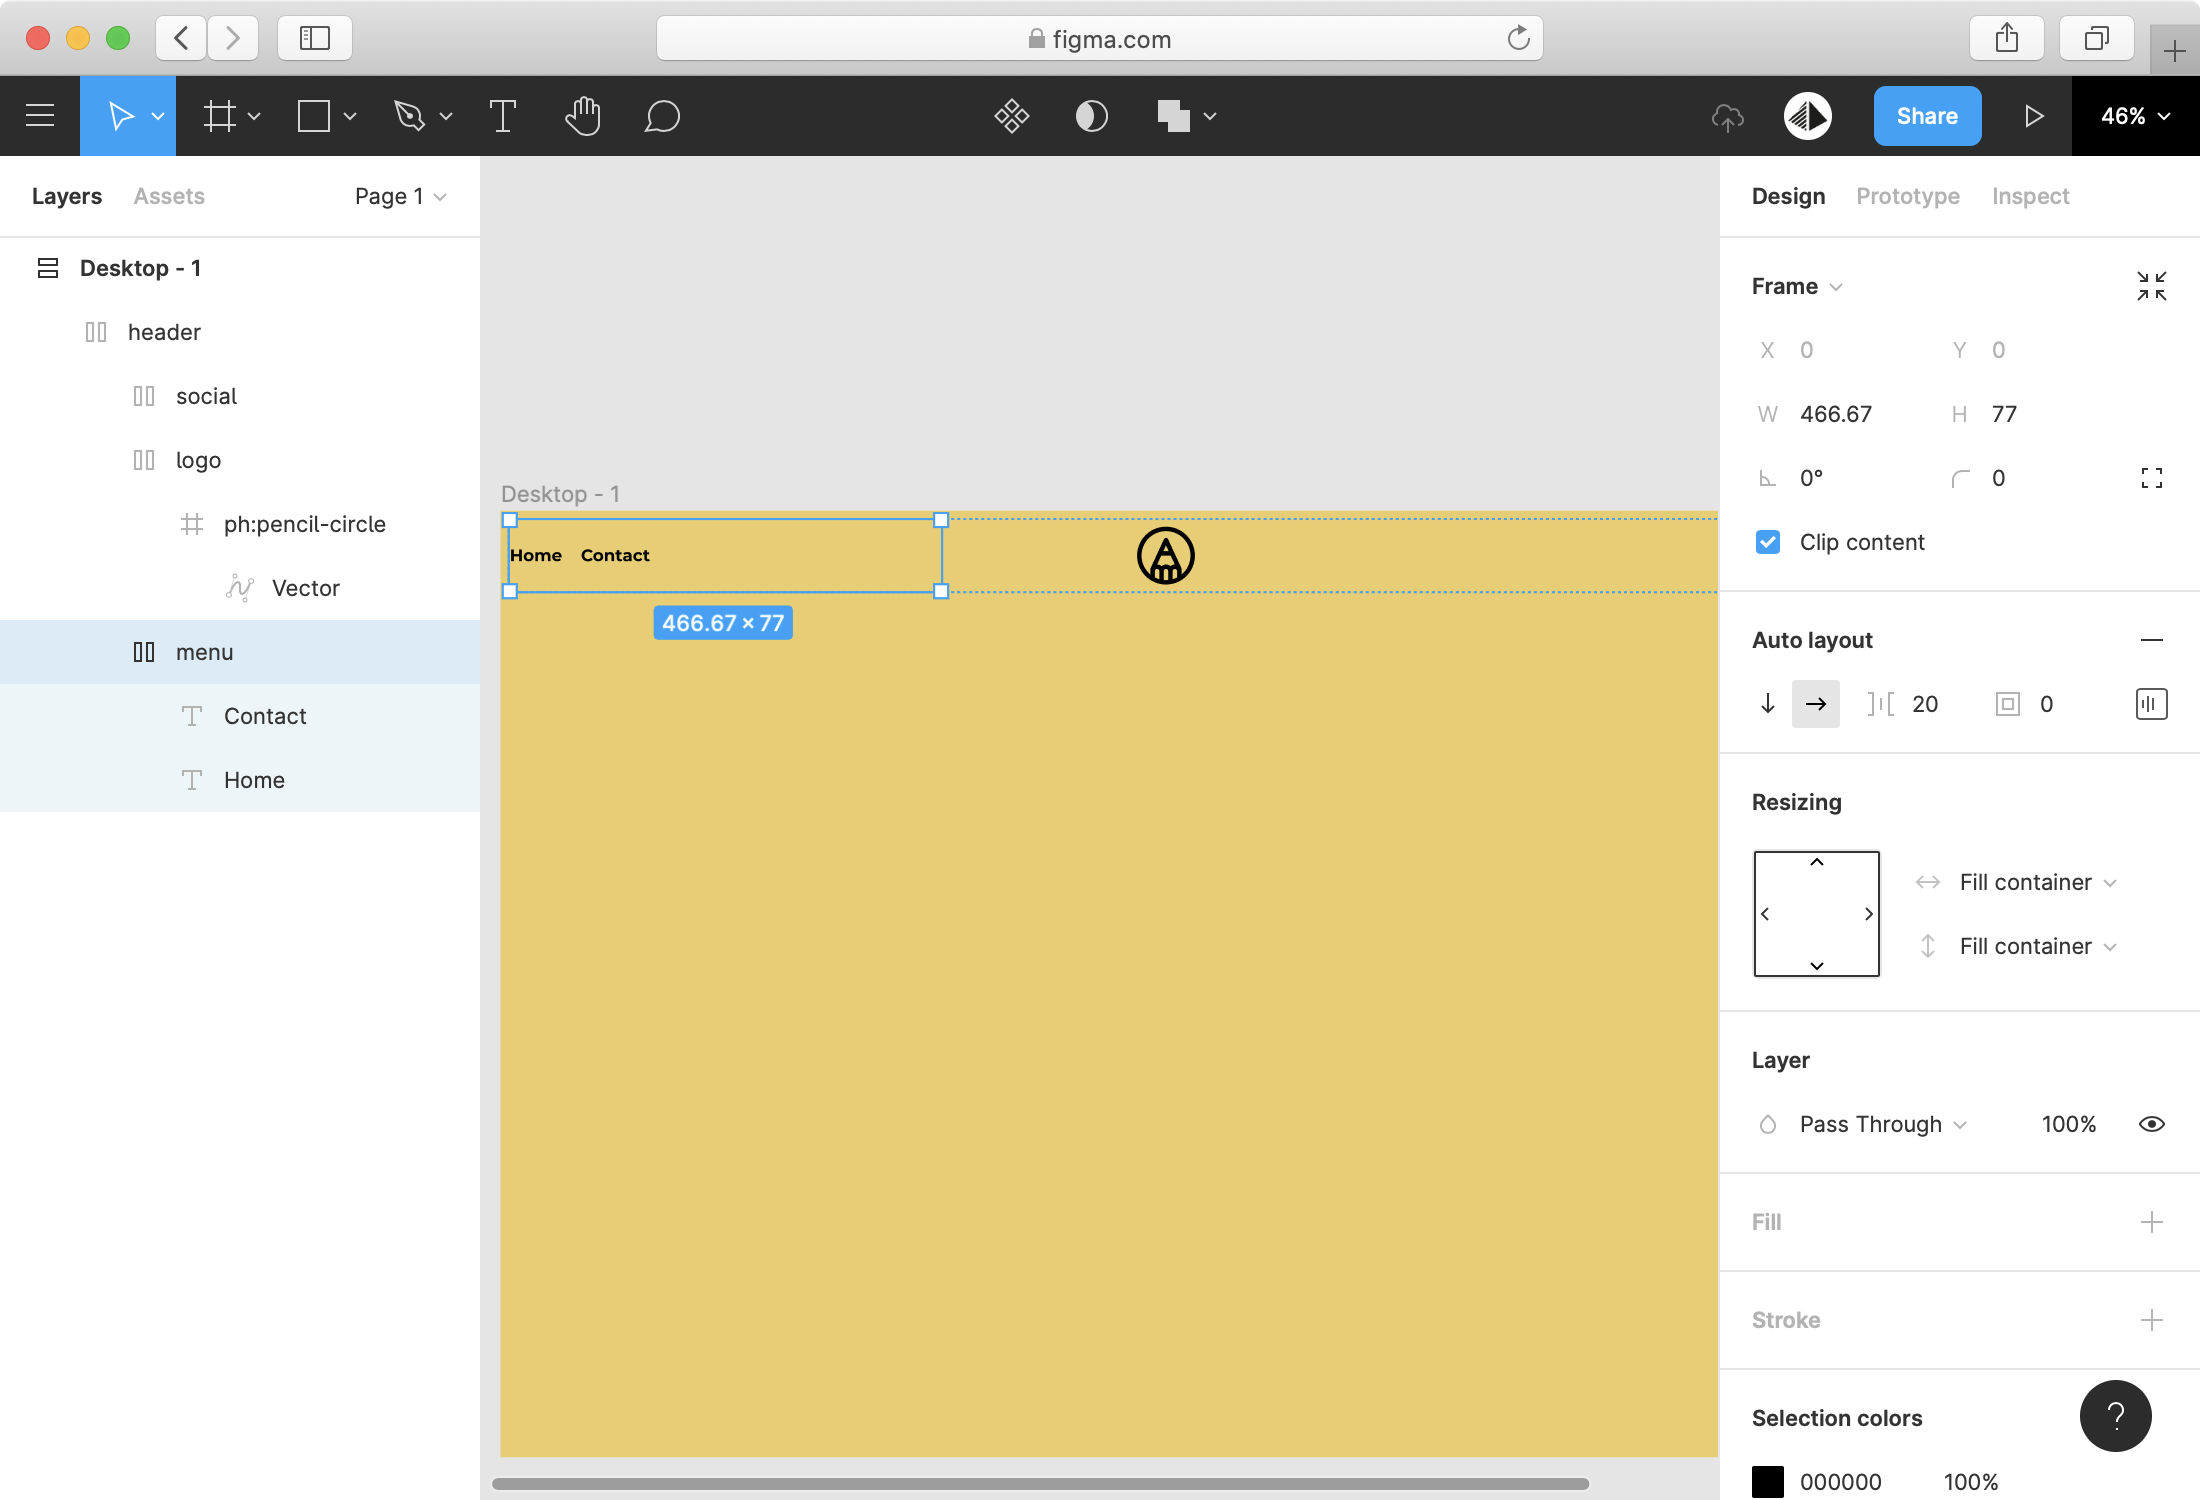
Now create a menu in the left frame, align them to the middle/left. You can also adjust the margin between the menu links:
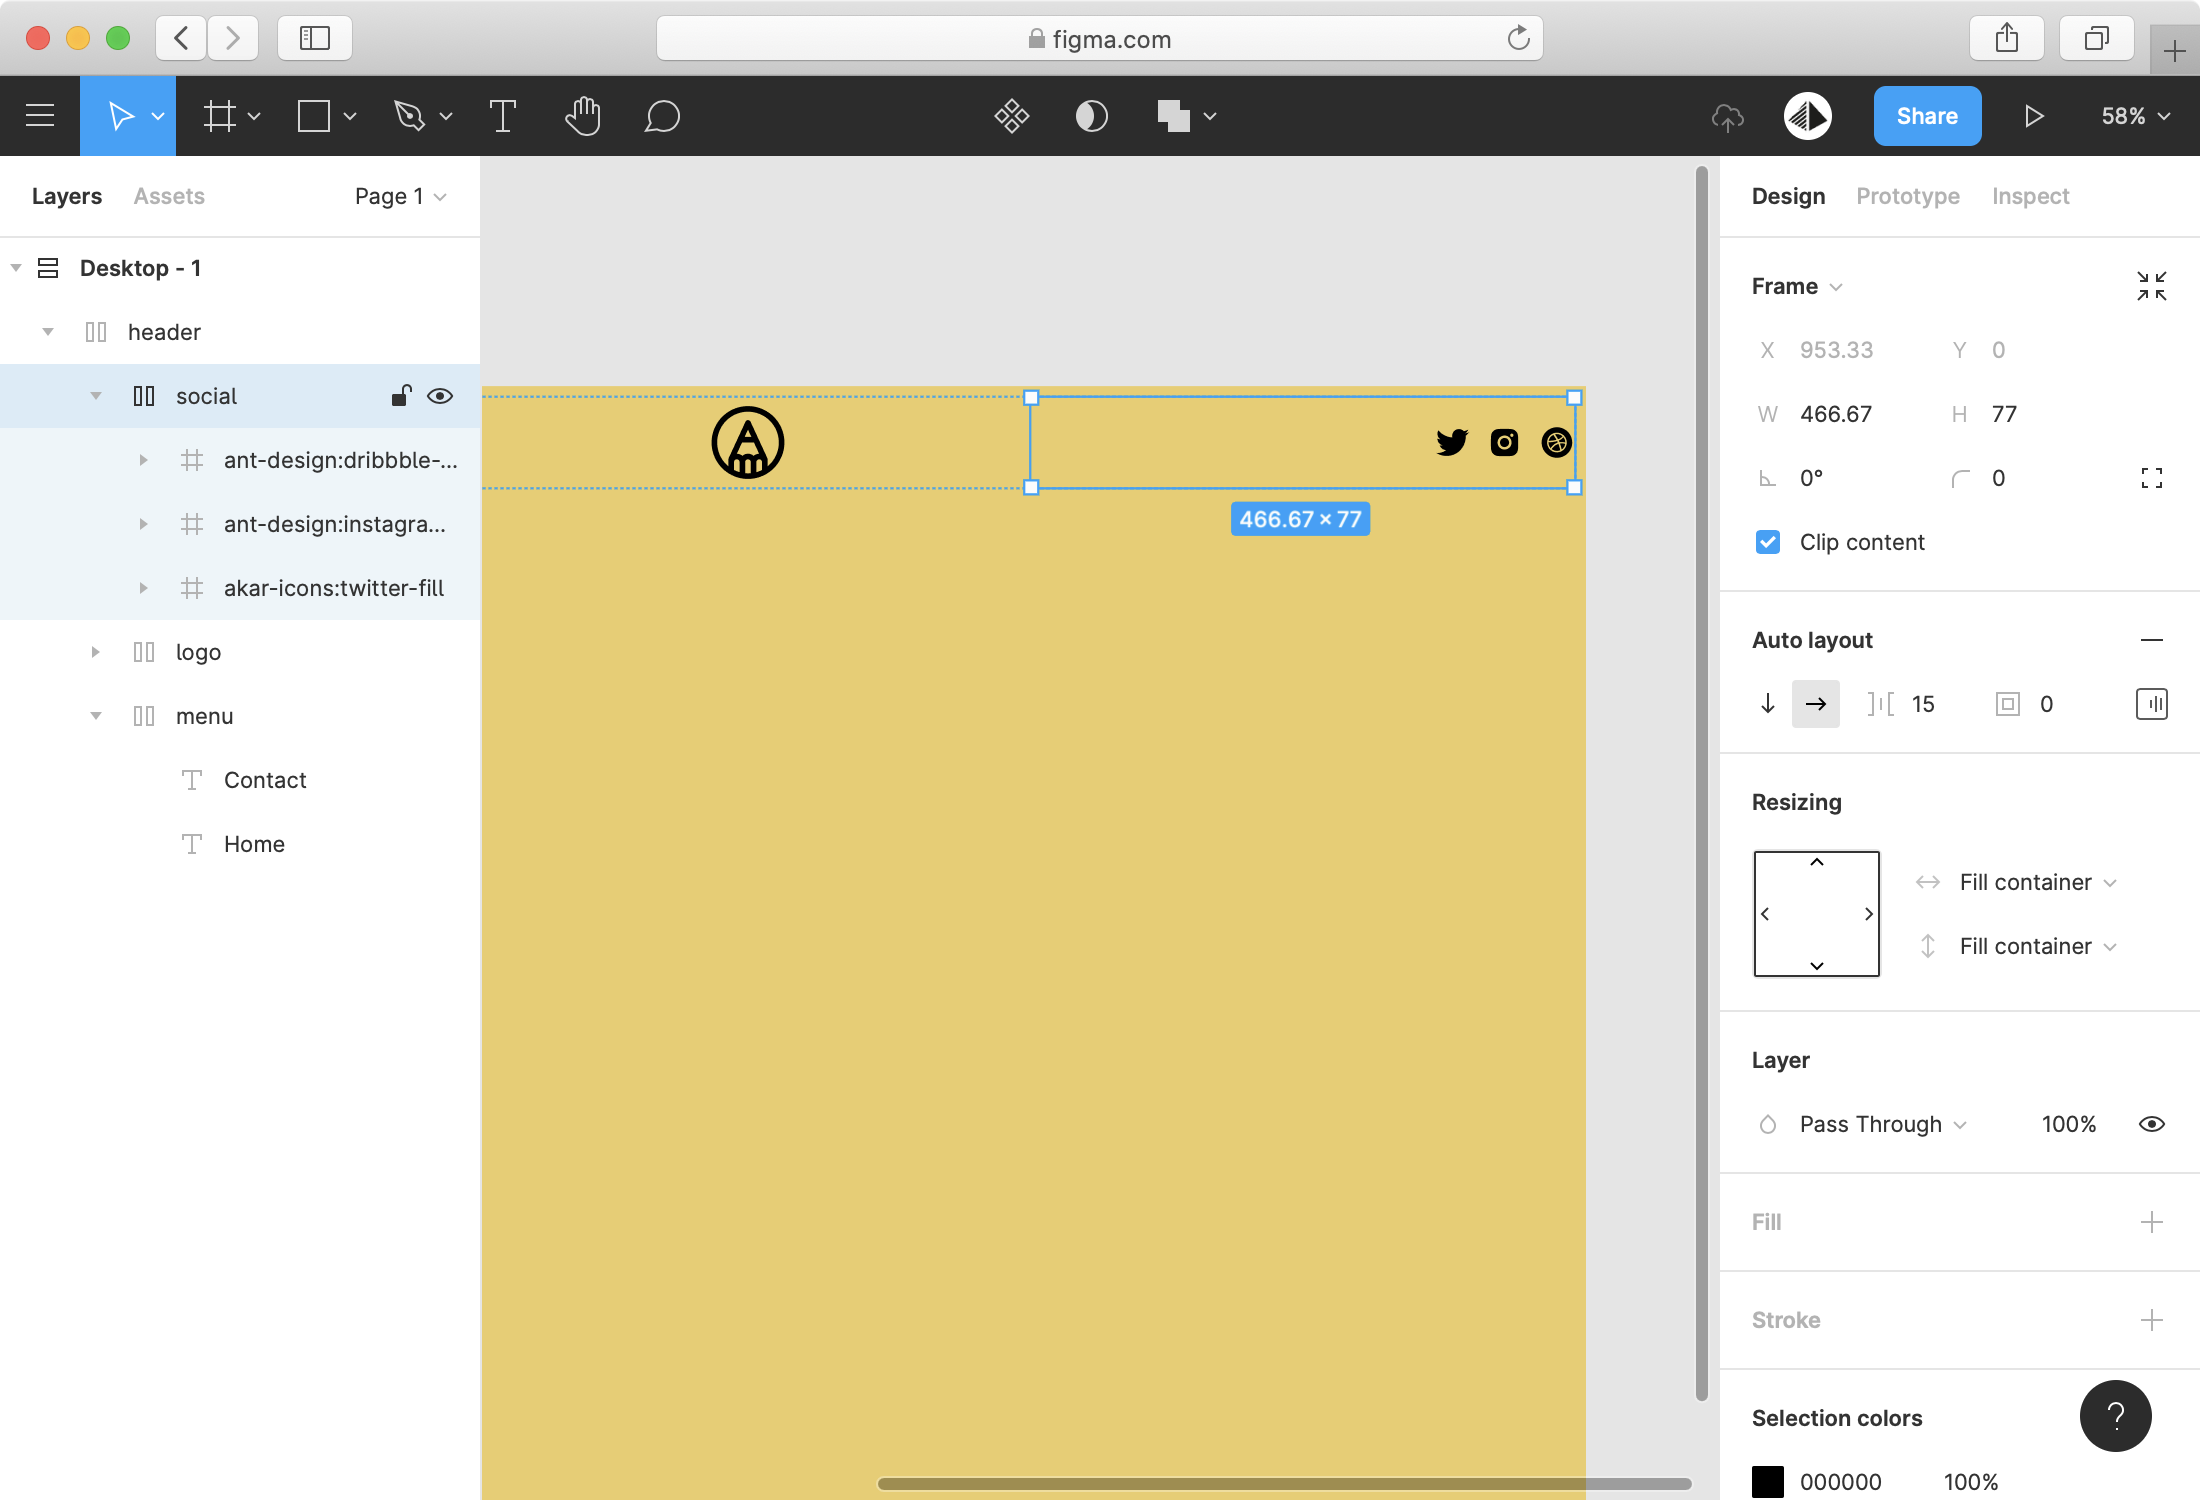
Import social icons (from Iconify):
It's time to sync your project in Figside:
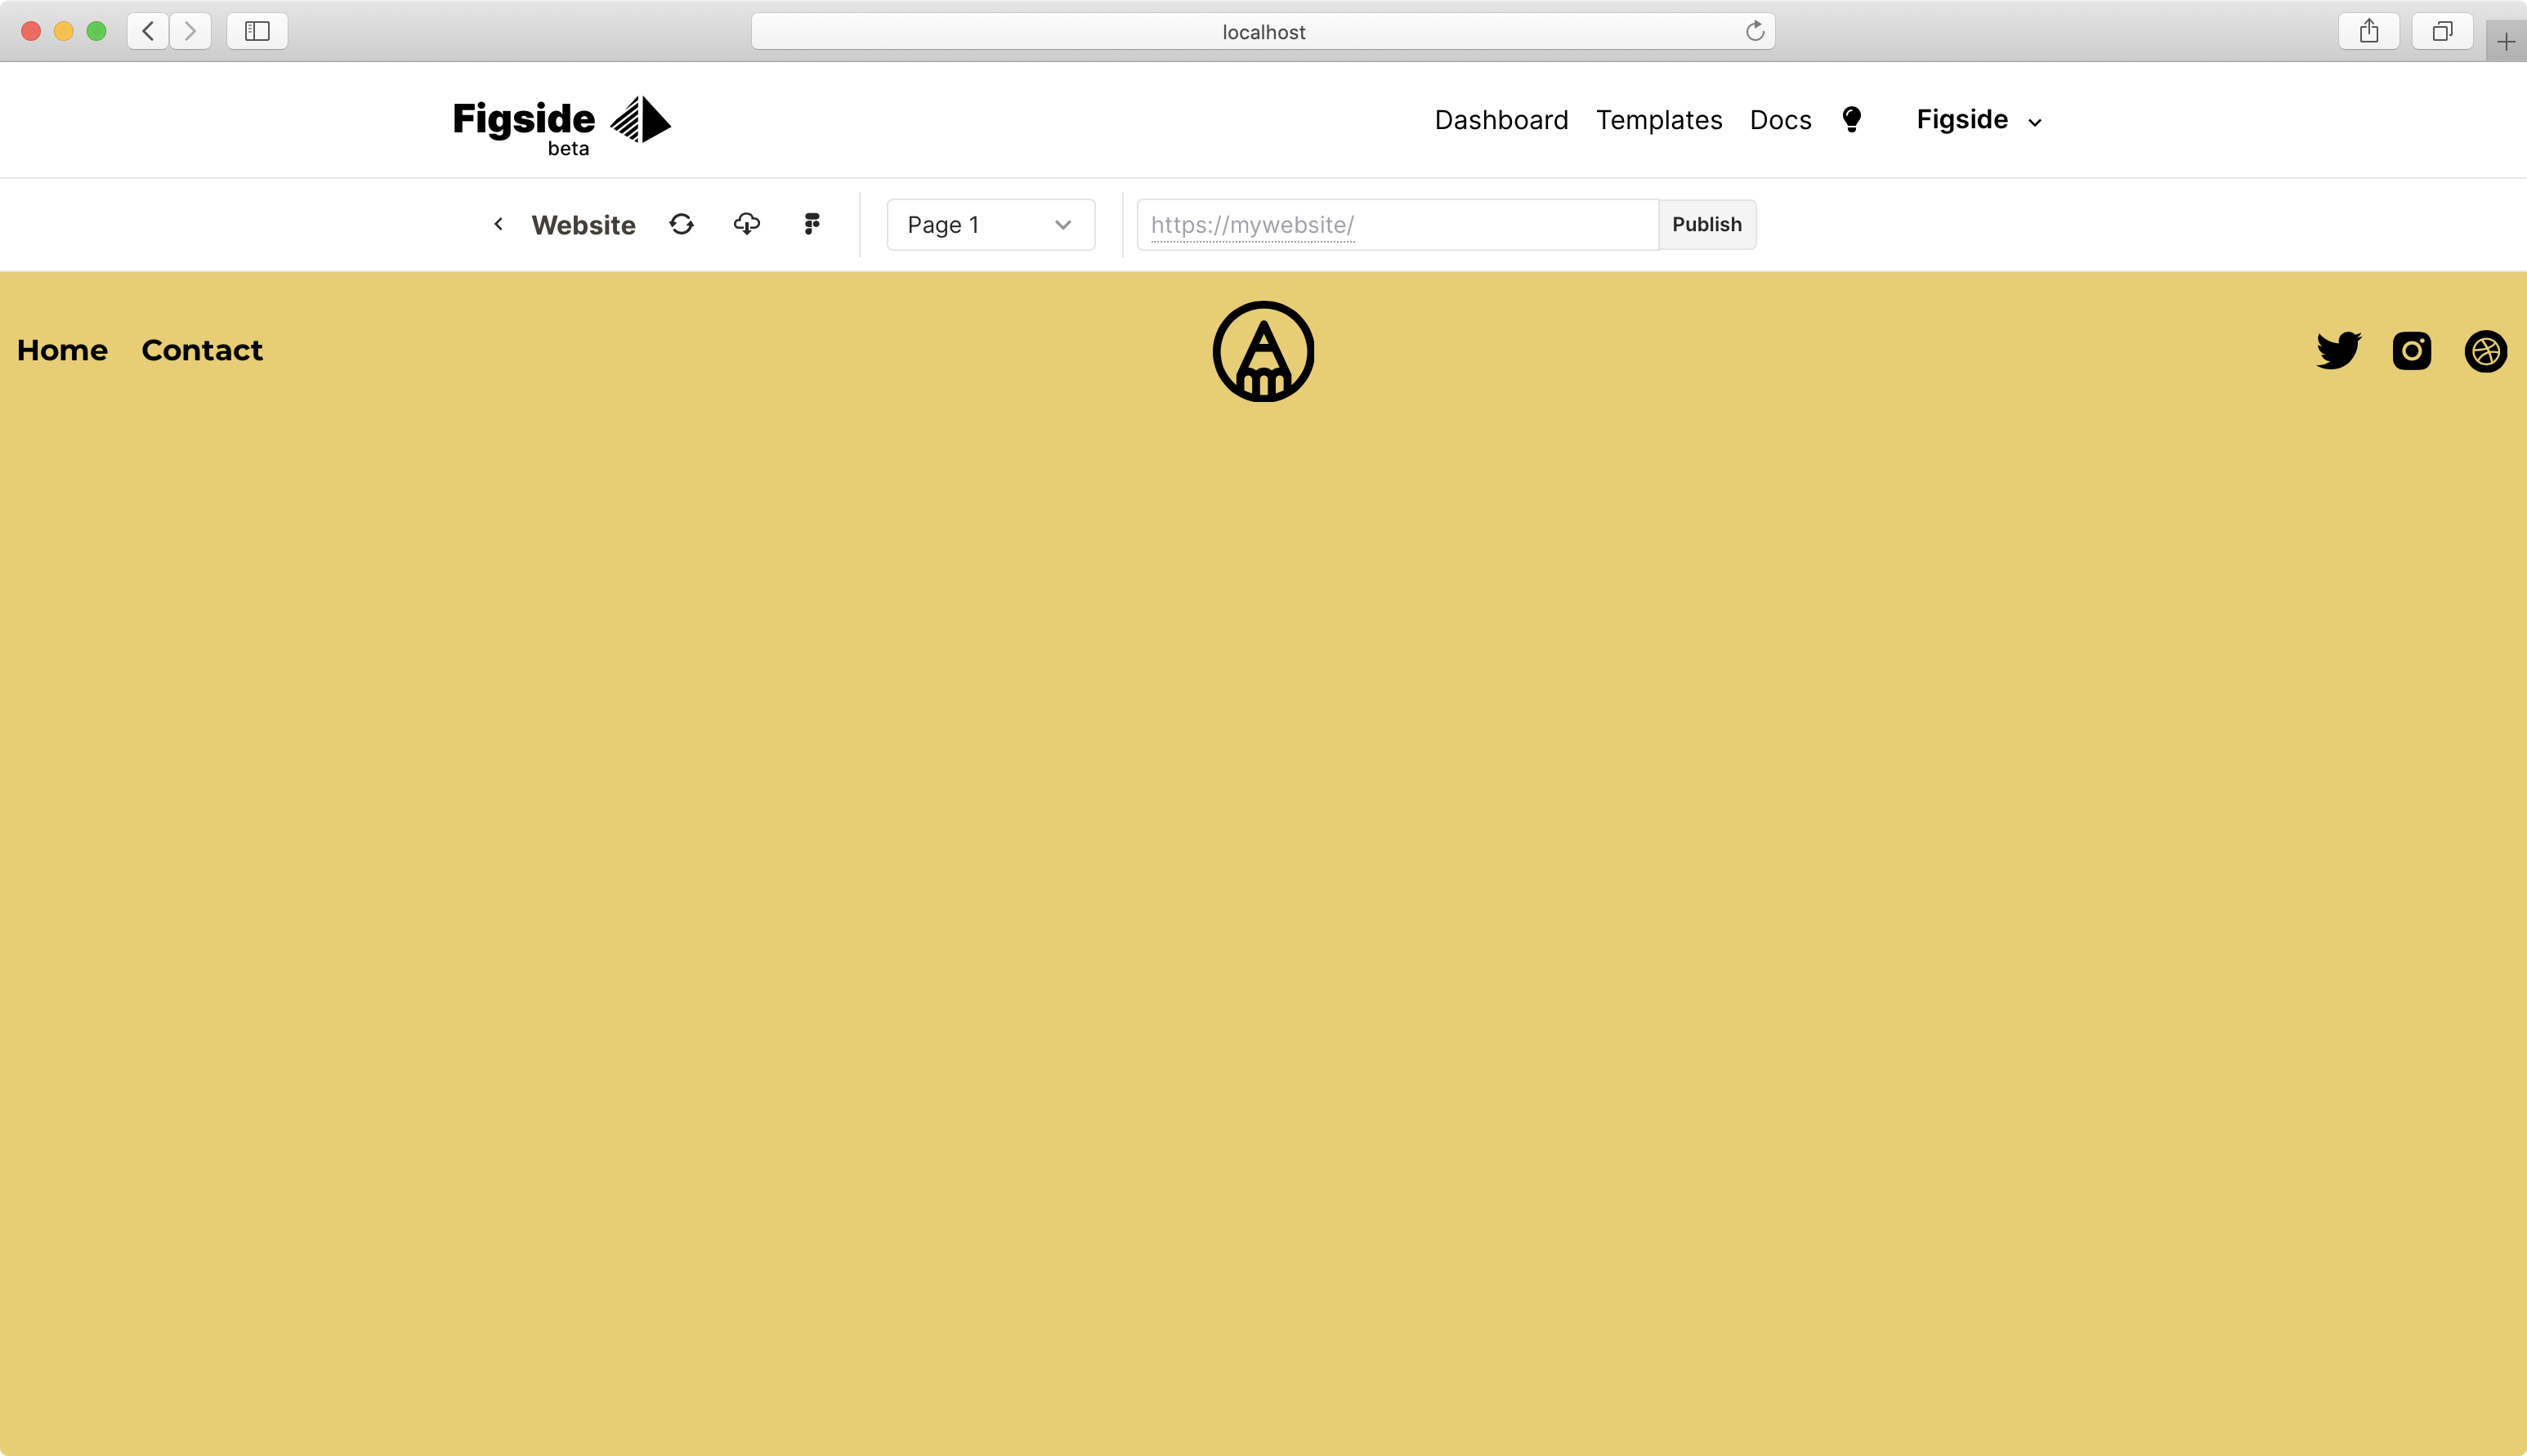
As you can see it works well! But what if we dont want a full width?
Introducing the Figside Plugin! Thanks to it you can add these kind of behaviours. Launch the plugin and select the header frame in Figma.
Add a max width:
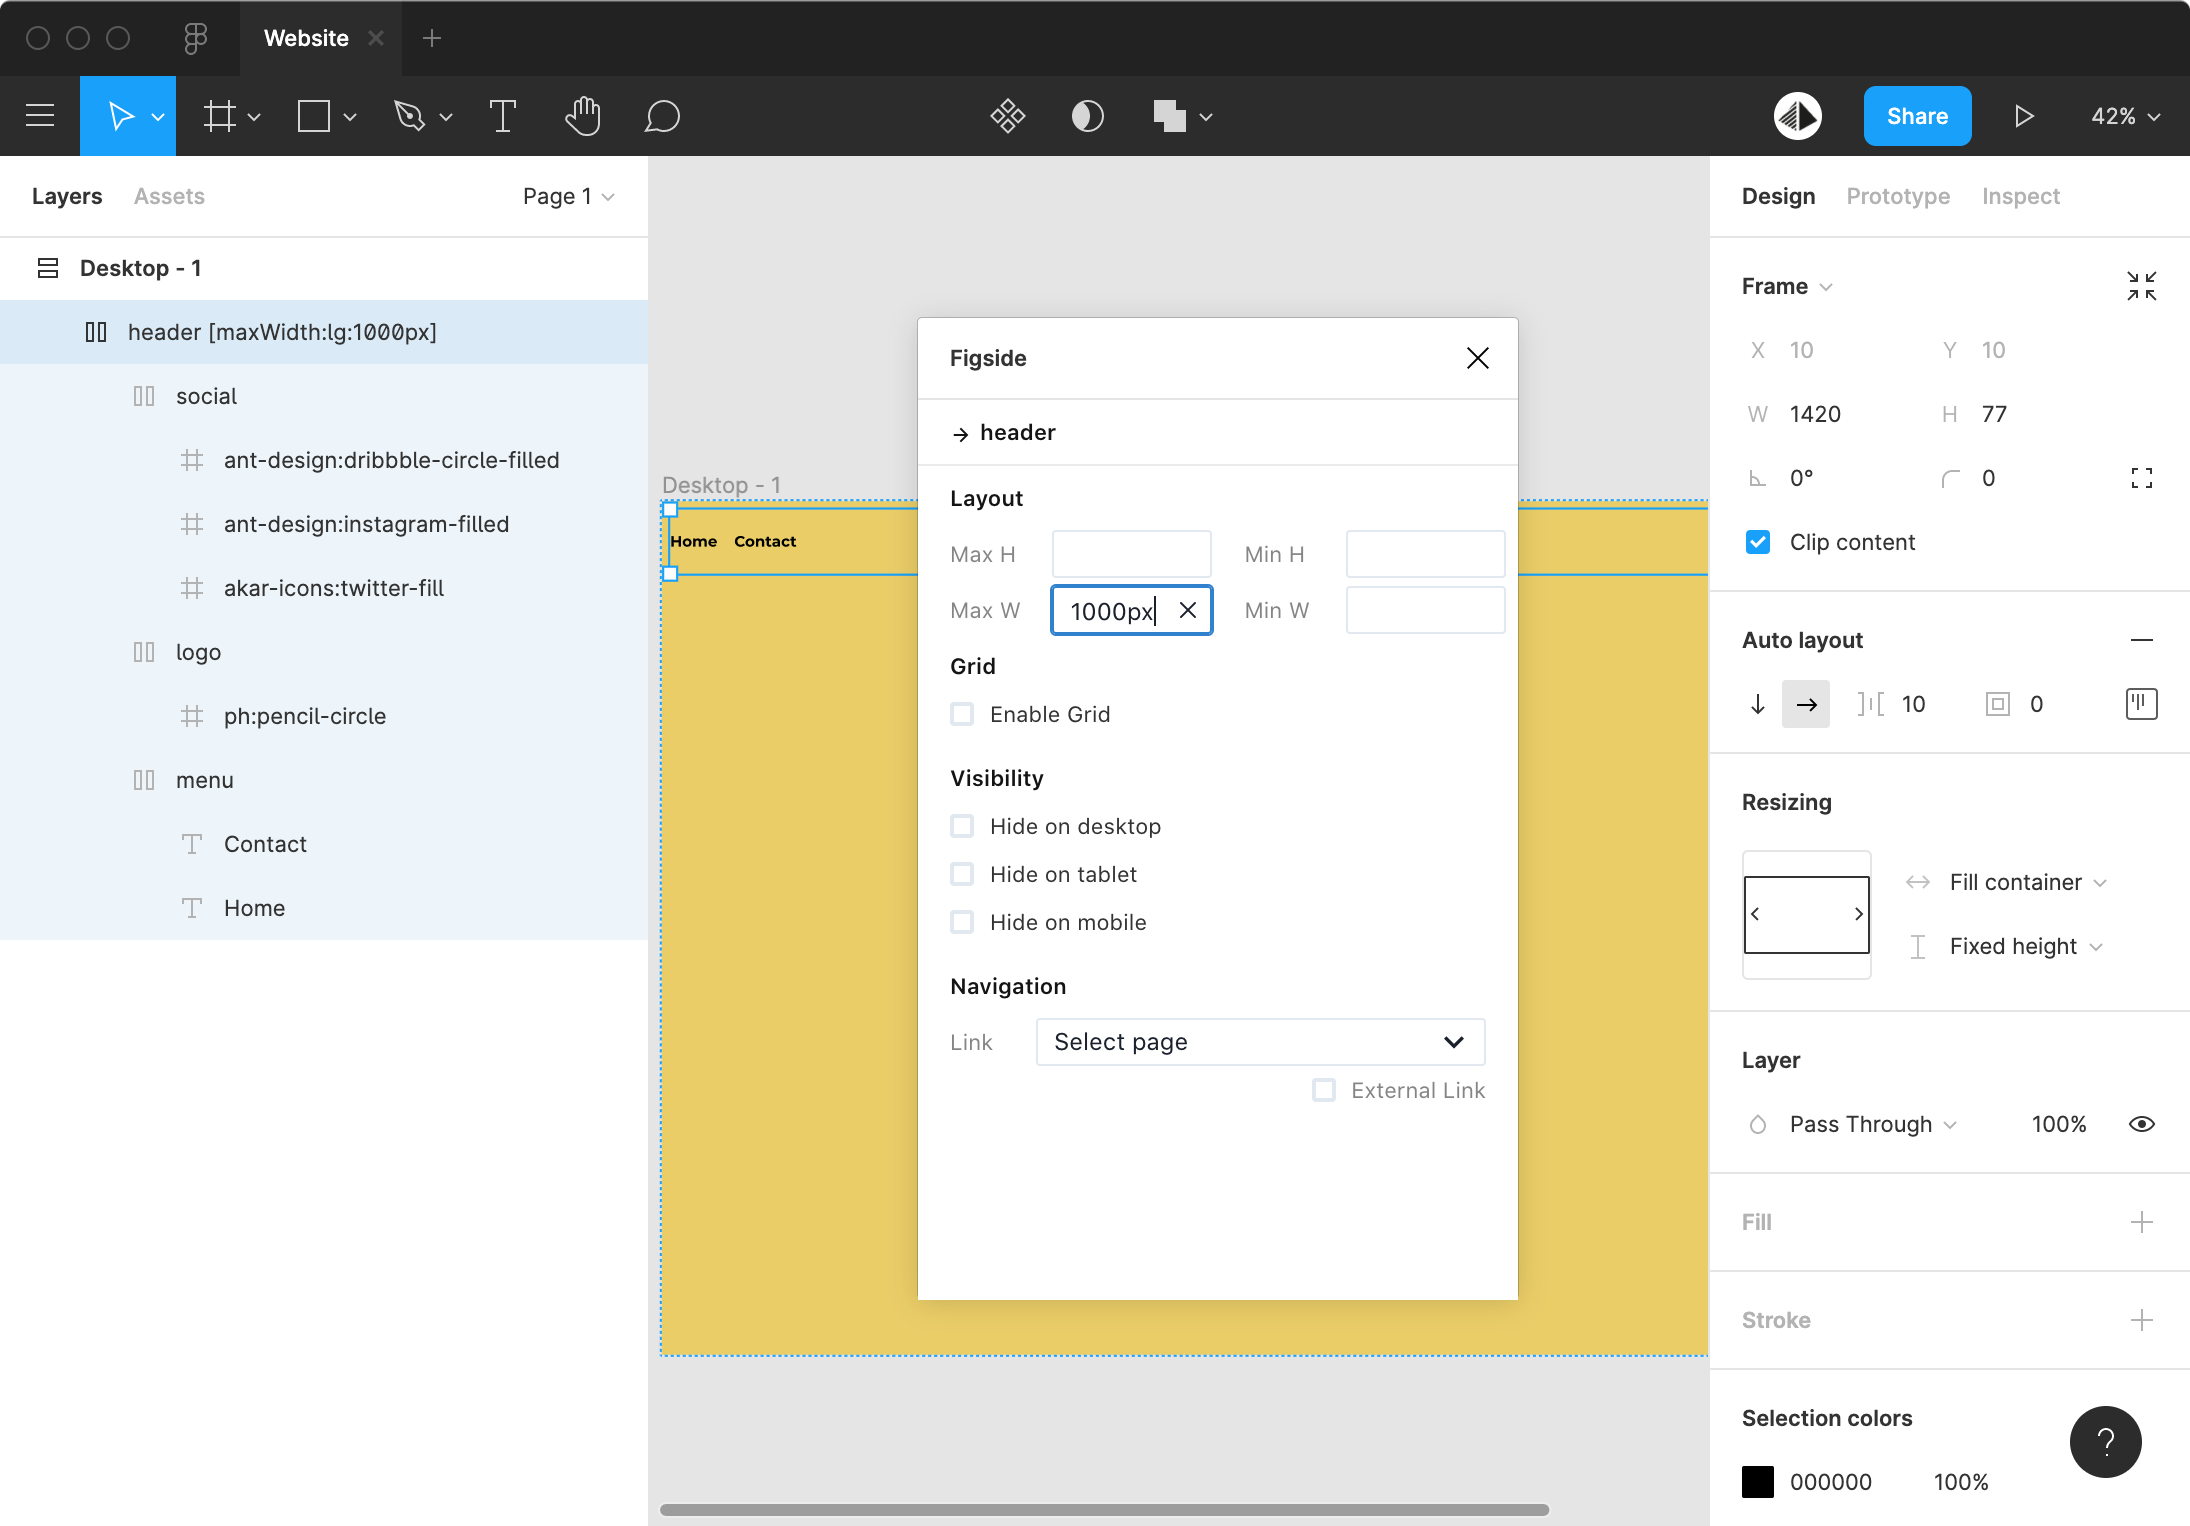
Look in your layer name, the Figside adds a Figside "Tag" (in our case the maxWidth tag) :
[maxWidth:common:1000px]
When your re-import your file in Figside, it adds the constraint on your layout:
Add a Project Grid
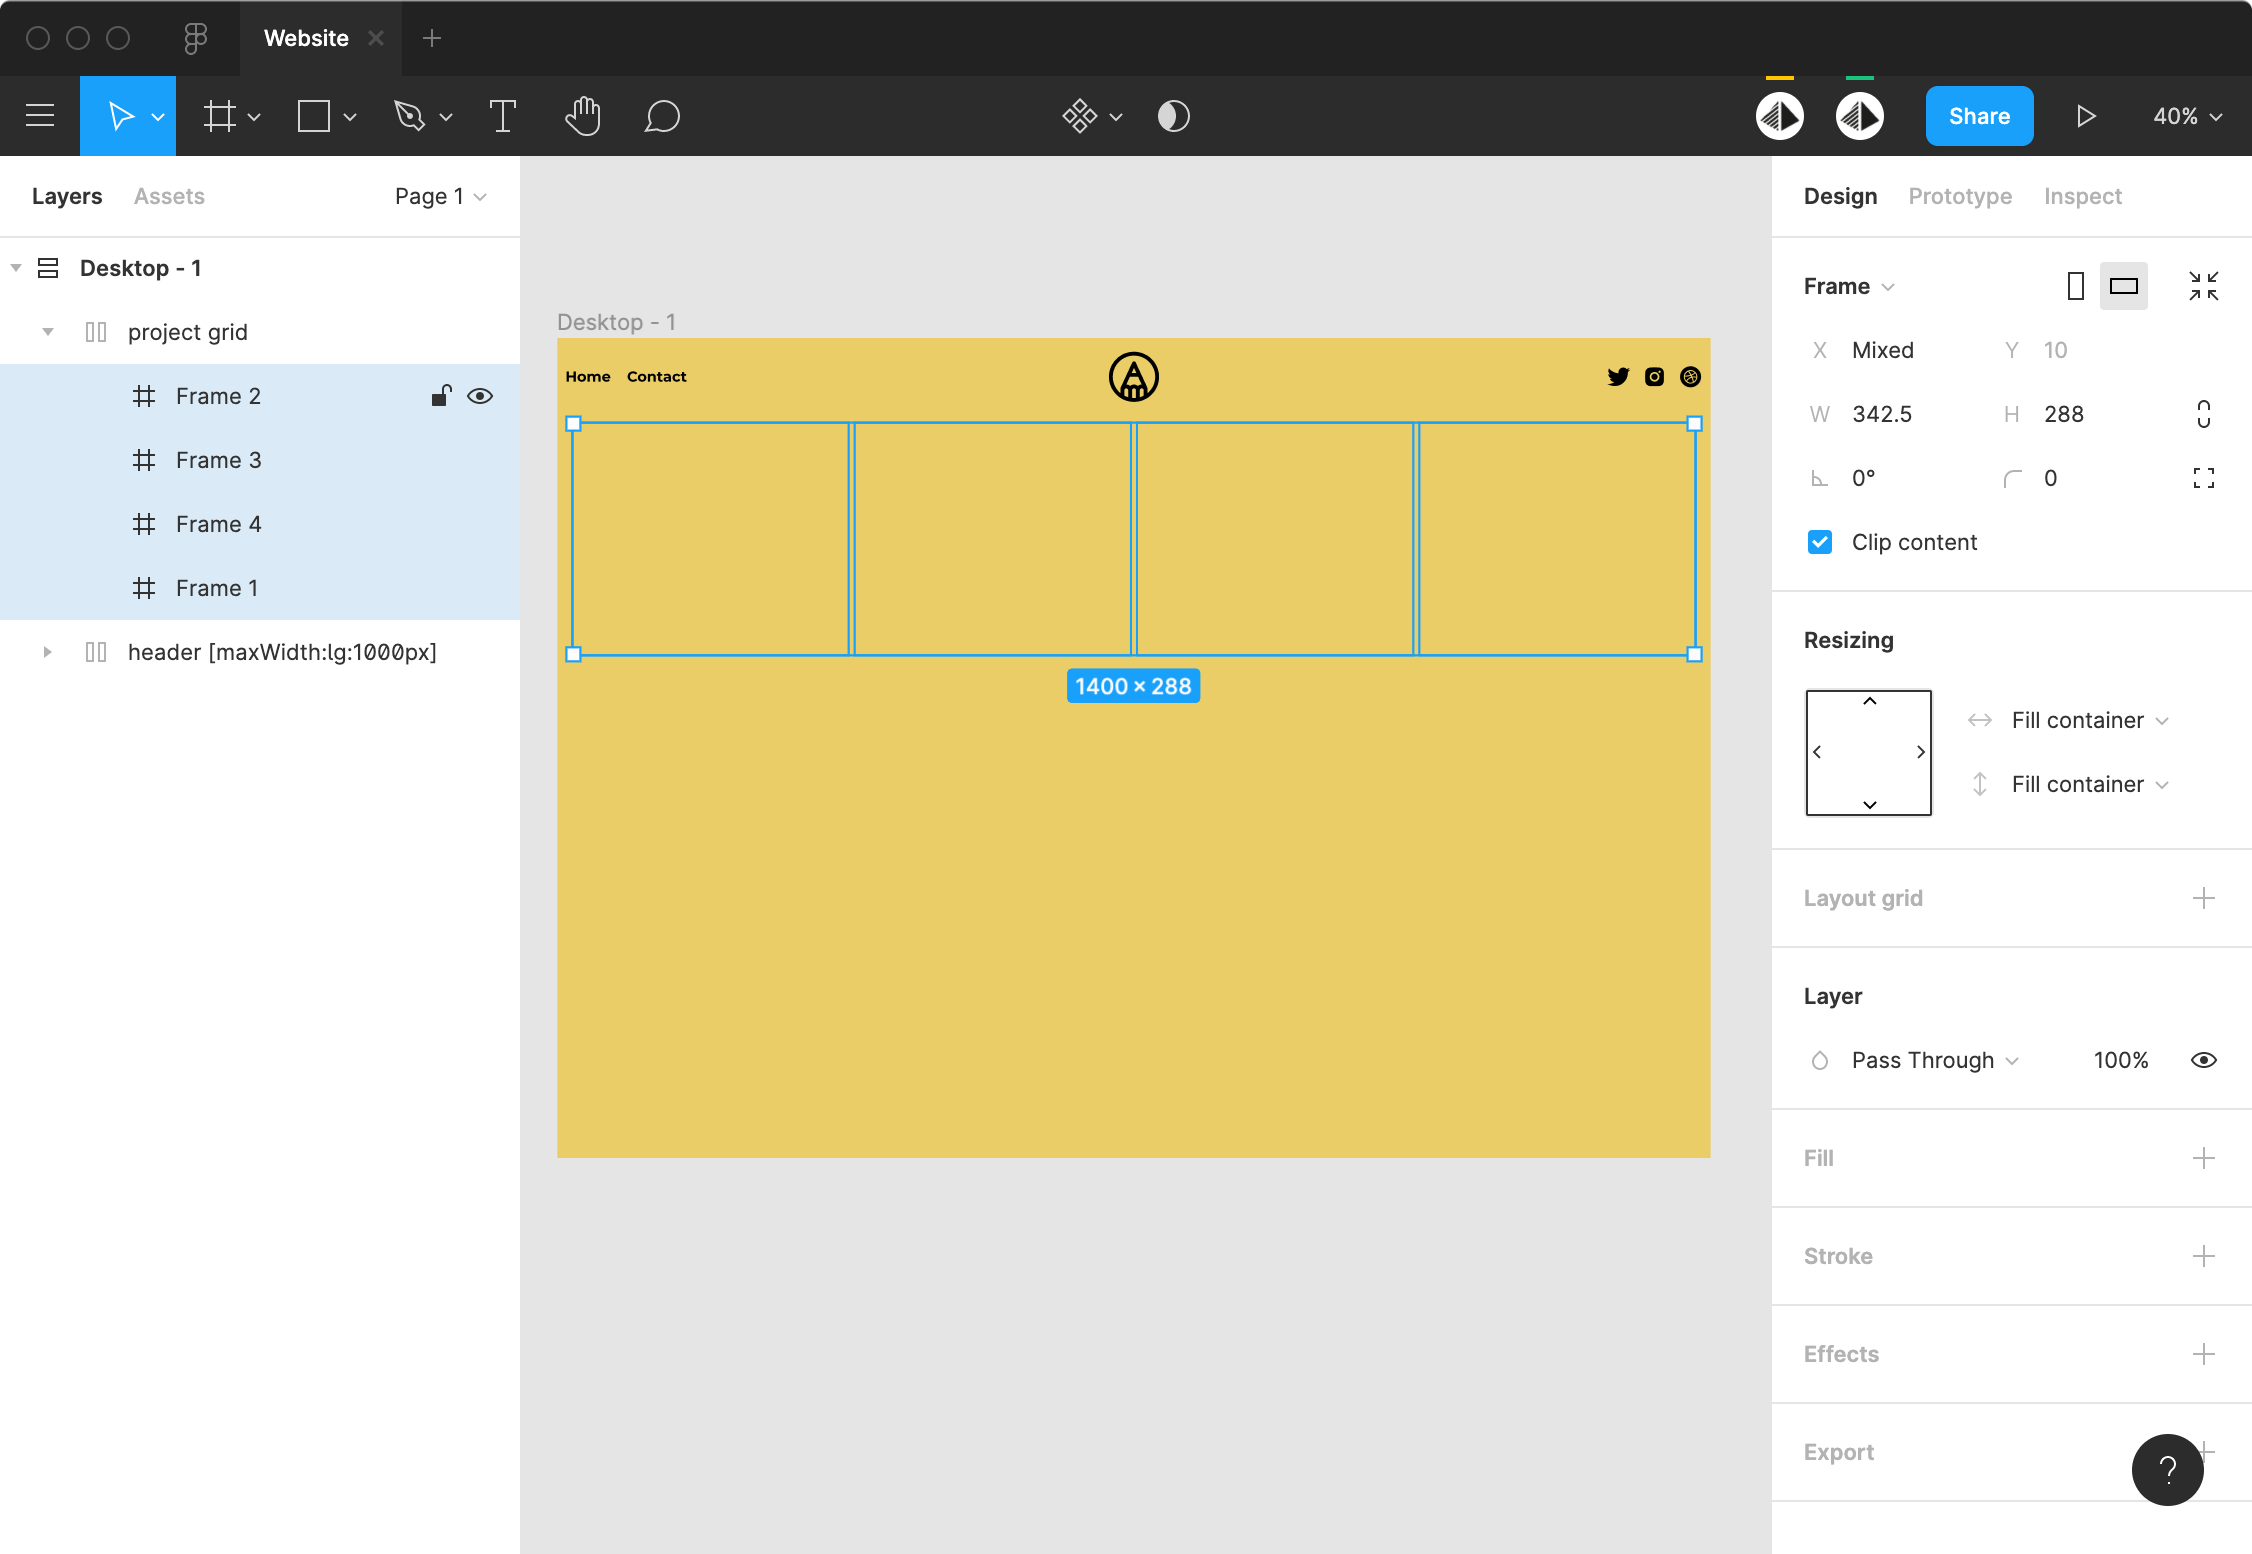
We are gonna to add a grid with some images. Add a frame container that contains 4 frames. You can add a max width limit on your grid like the header and choose Fill container for the width and Hug content for the height.
For the 4 frames, make it fills the container in width and add a fixed height:
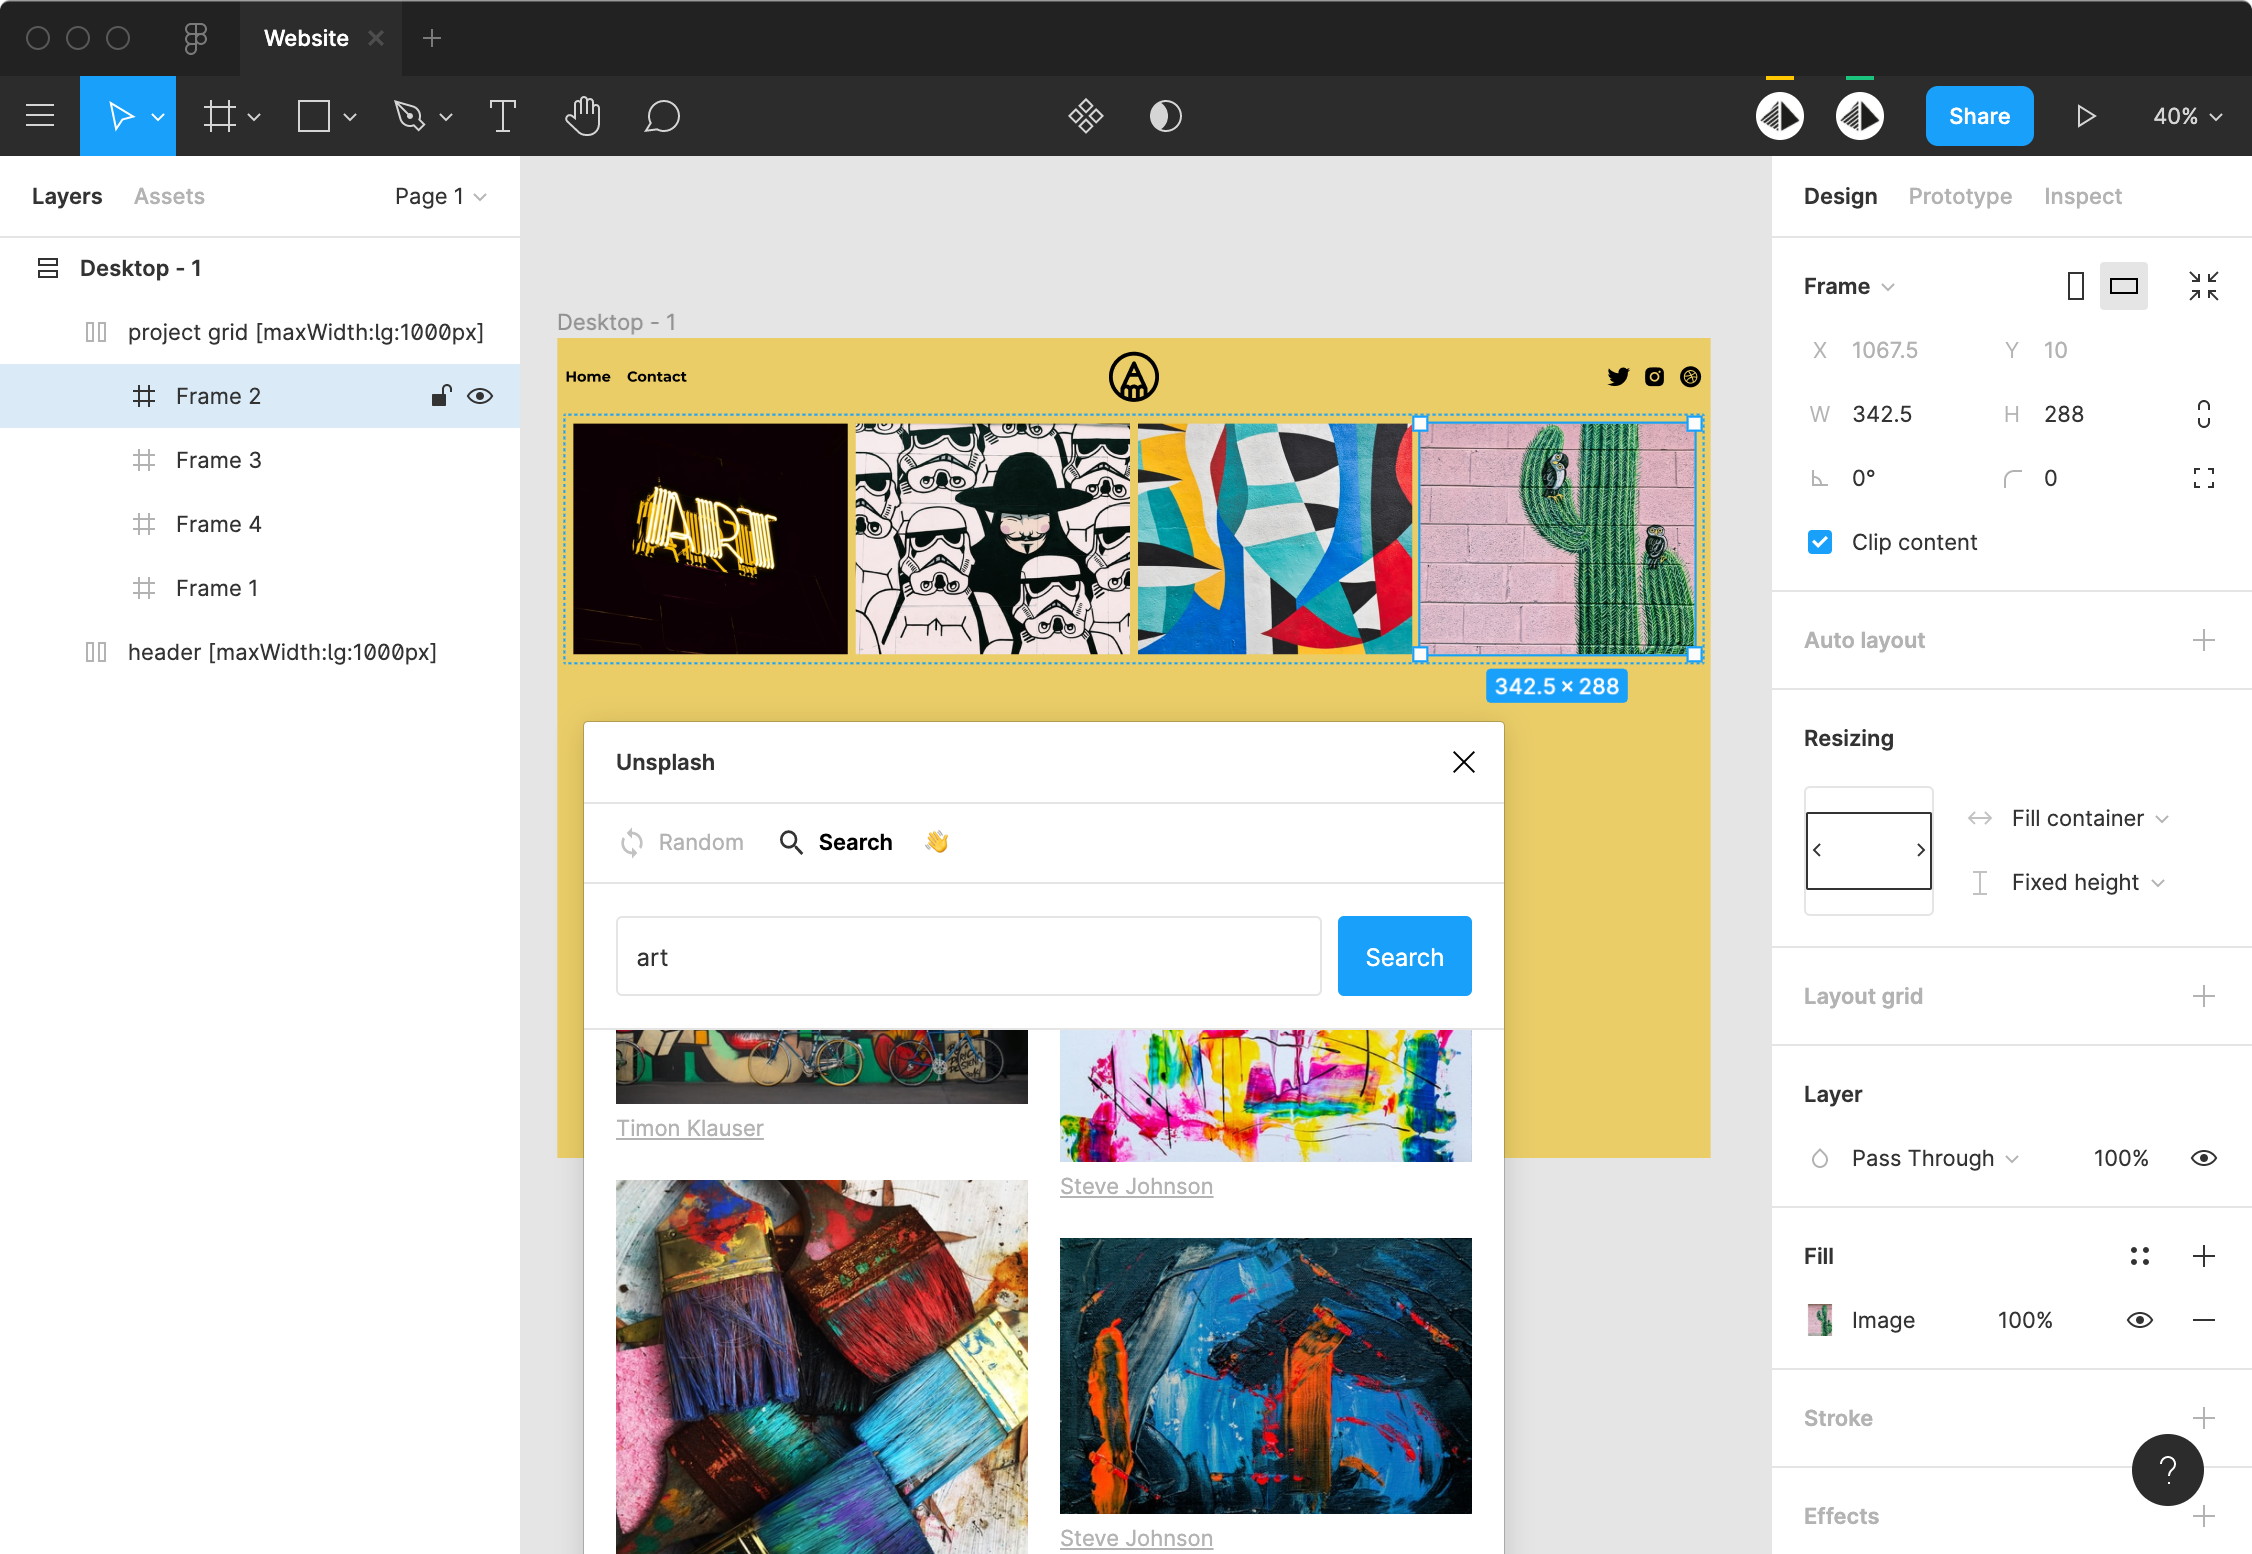
Fill each frame with a picture (you can use the Unsplash plugin):
Preview you site in Figside ! Looks good ?
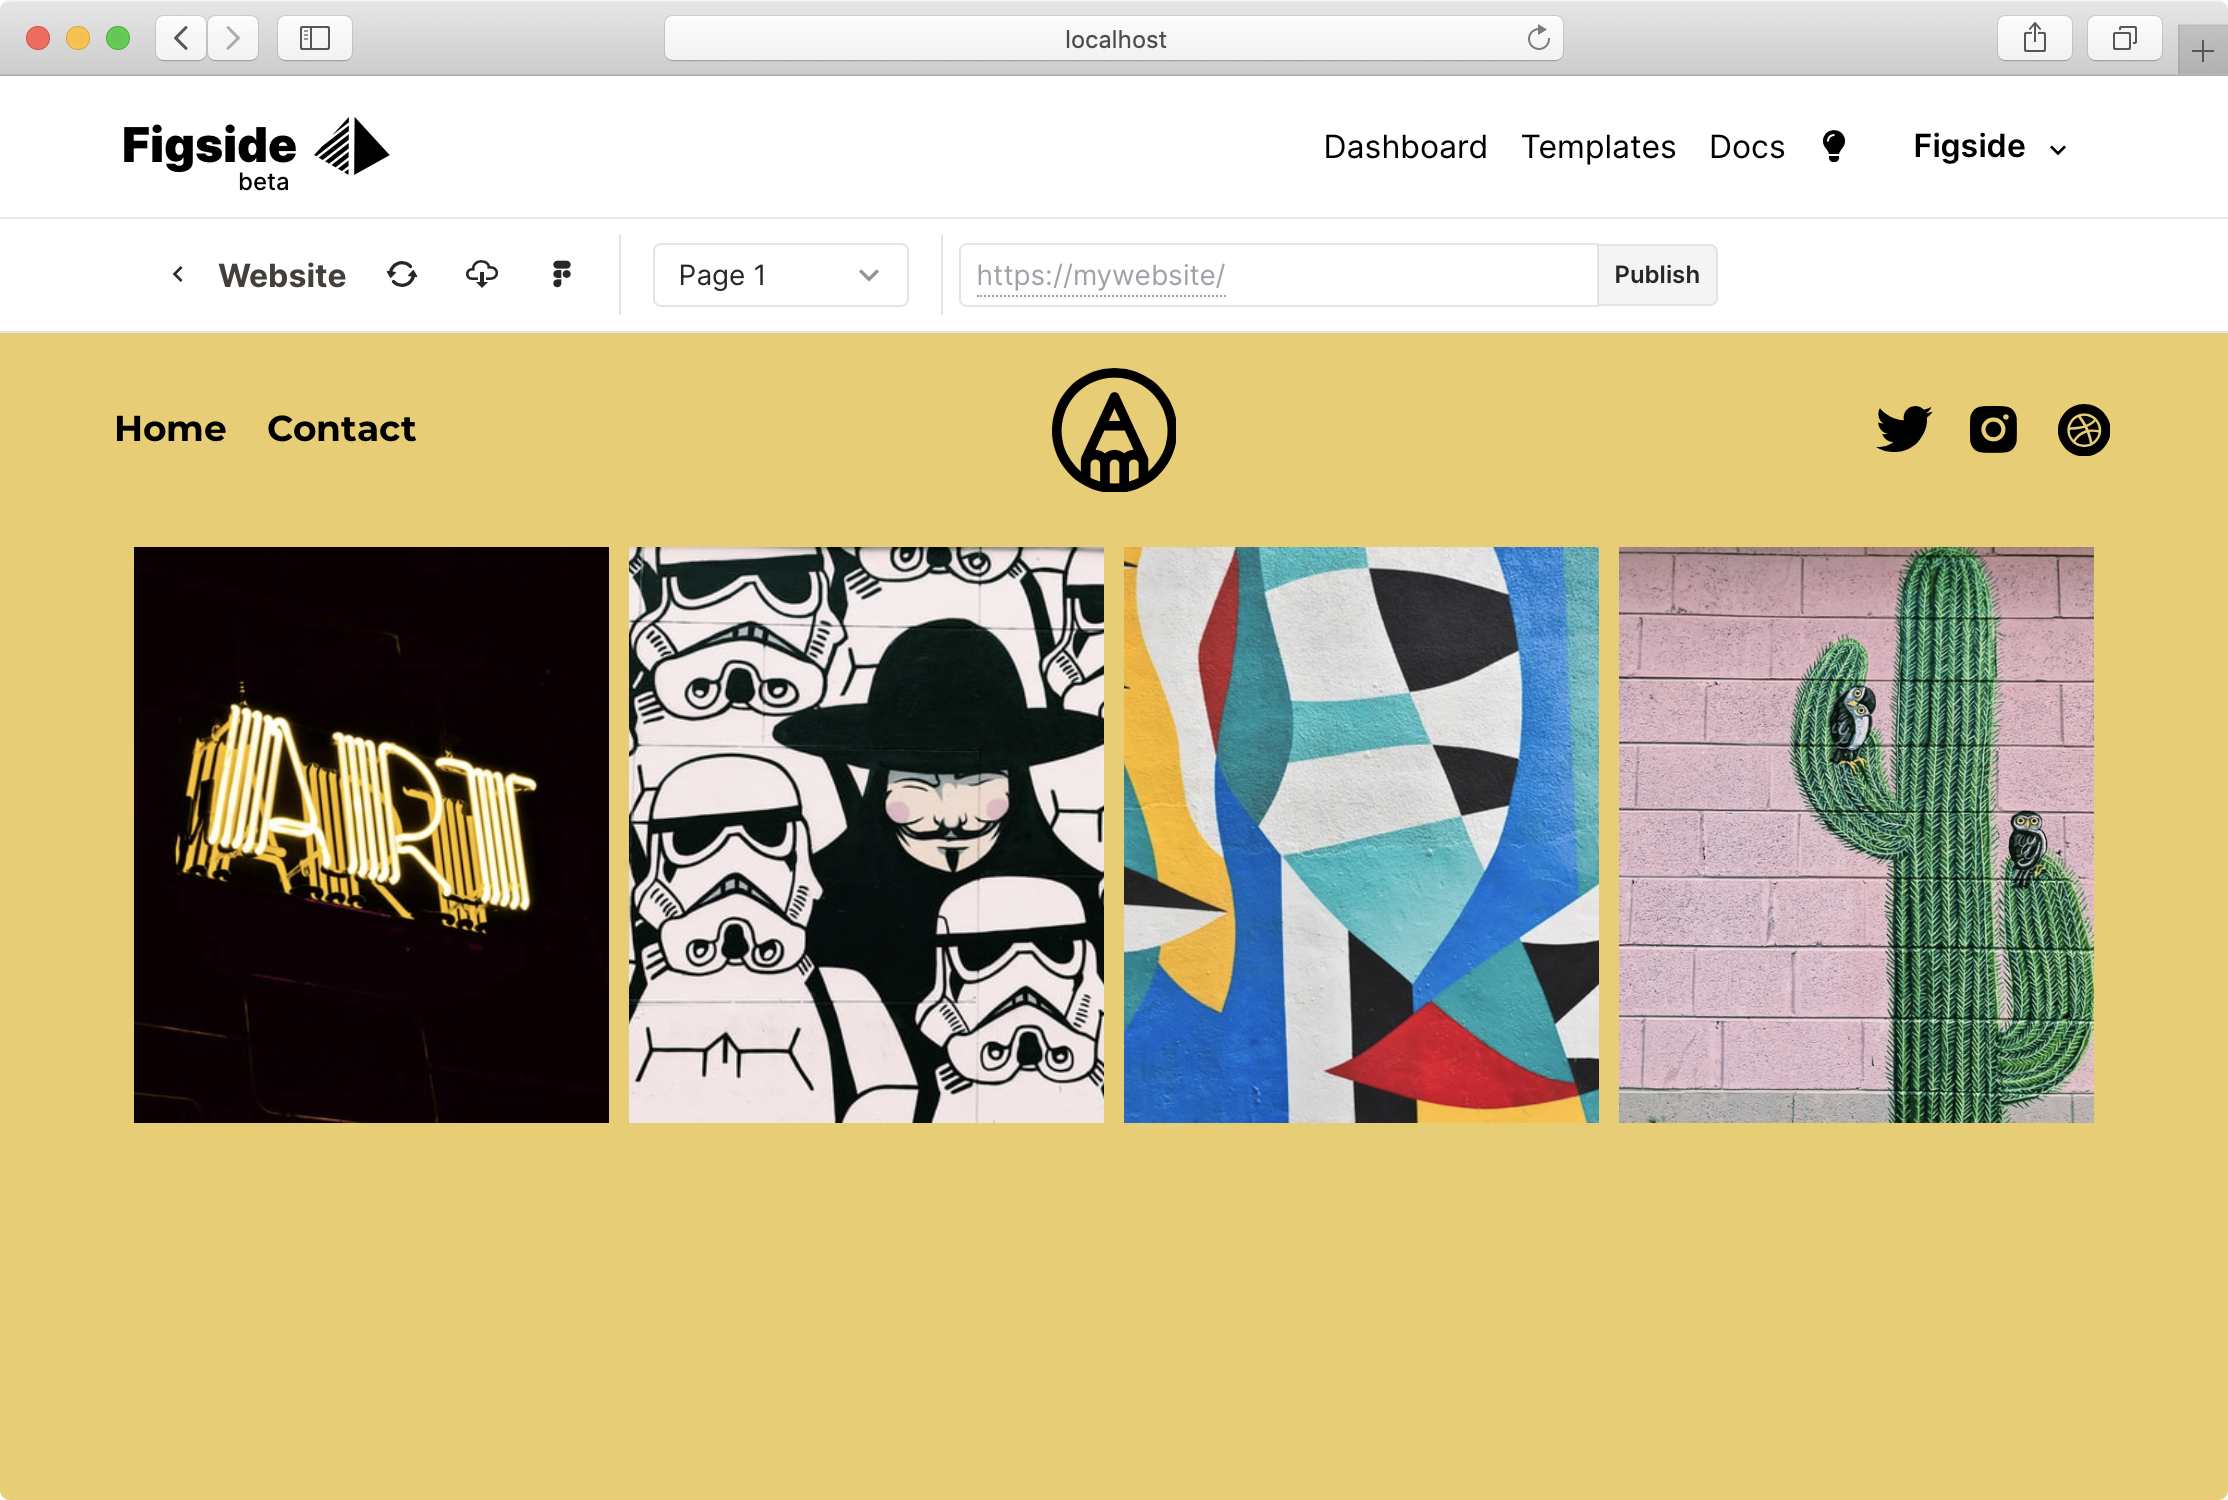
A modern website needs to be responsive. If you check your site under a mobile viewport, it's not right :
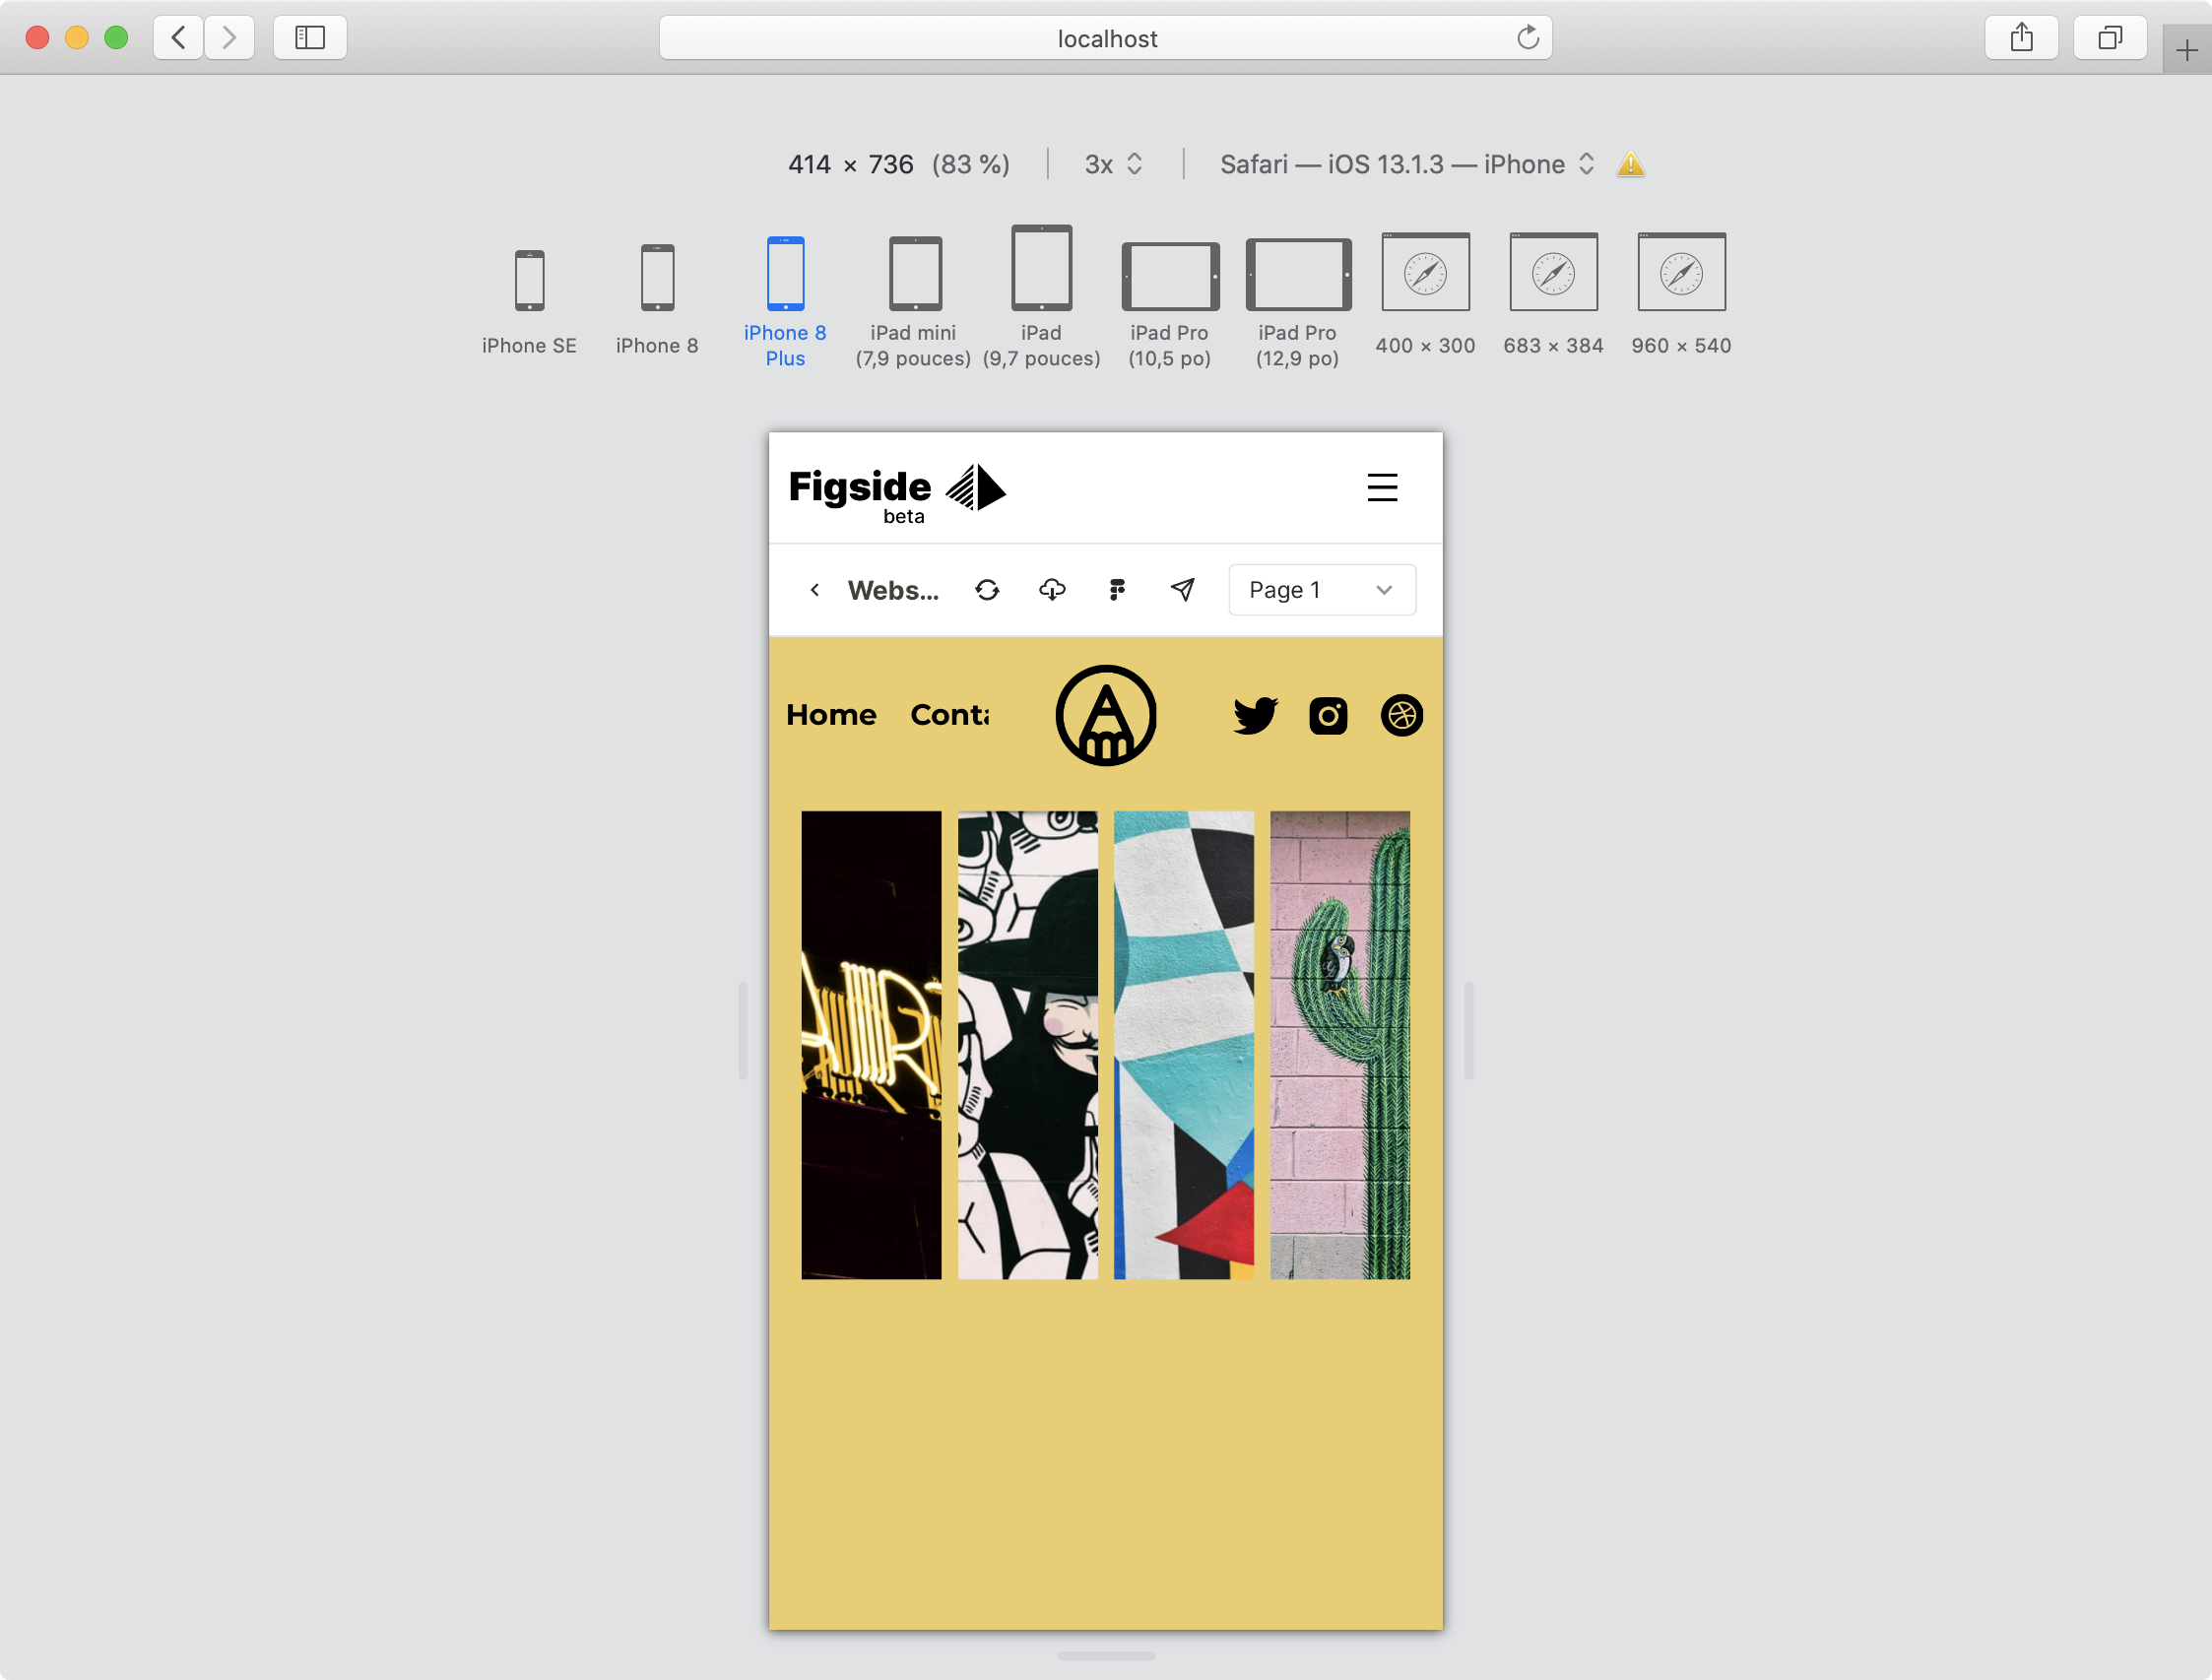
Let's fix this in the next section of this tutorial!